How to Decorate Eggs for Easter using Natural Dyes
As much as I enjoy the long, slow build up to Christmas, there’s something comfortingly easy about Easter celebrations. I’m so much more relaxed about it and feel as though I can go with the flow a bit more. With Easter being a bit later this year, the garden is abundant with magnolia, euphorbia, forget-me-nots and gorgeously scented skimmia and the hedgerows are heavy with hawthorn blossom.
Sign up to receive our FREE quarterly seasonal Creative Living Journal, full of inspiring makes, interviews with creative people and tours of inspirational places. All editions available to download now.
The warmer weather has inspired me to get outside more often. Yesterday I prepared some seed trays for briza grass, scabiosa “ping pong” and larkspur and filled pots ready to plant some new varieties of dahlia tubers. While I knelt beside them with my hands in the soil, I heard a nest of baby thrushes chirupping loudly from within the hedge beside me. I couldn’t see them, but a few weeks earlier I’d watched their mother from my bathroom window as she dived into the thicket of branches with her beak full of twigs and moss. To hear the chicks noisy arrival made my heart sing. Spring is such a quietly optimistic time of year.
We’re away visiting family for the Easter weekend this year, so there will be no need of Easter table preparations, but we always decorate eggs to roll, but this year I decided to experiment with something a little different. I’ve been keen to dye fabric using vegetable and plant dyes for some time now and recently bought Botanical Colour at Your Fingertips by Rebecca Desnos, which has proved to be an endless source of inspiration. So, I decided to dip my toe in the water and try out some natural dyes on this year’s eggs first.
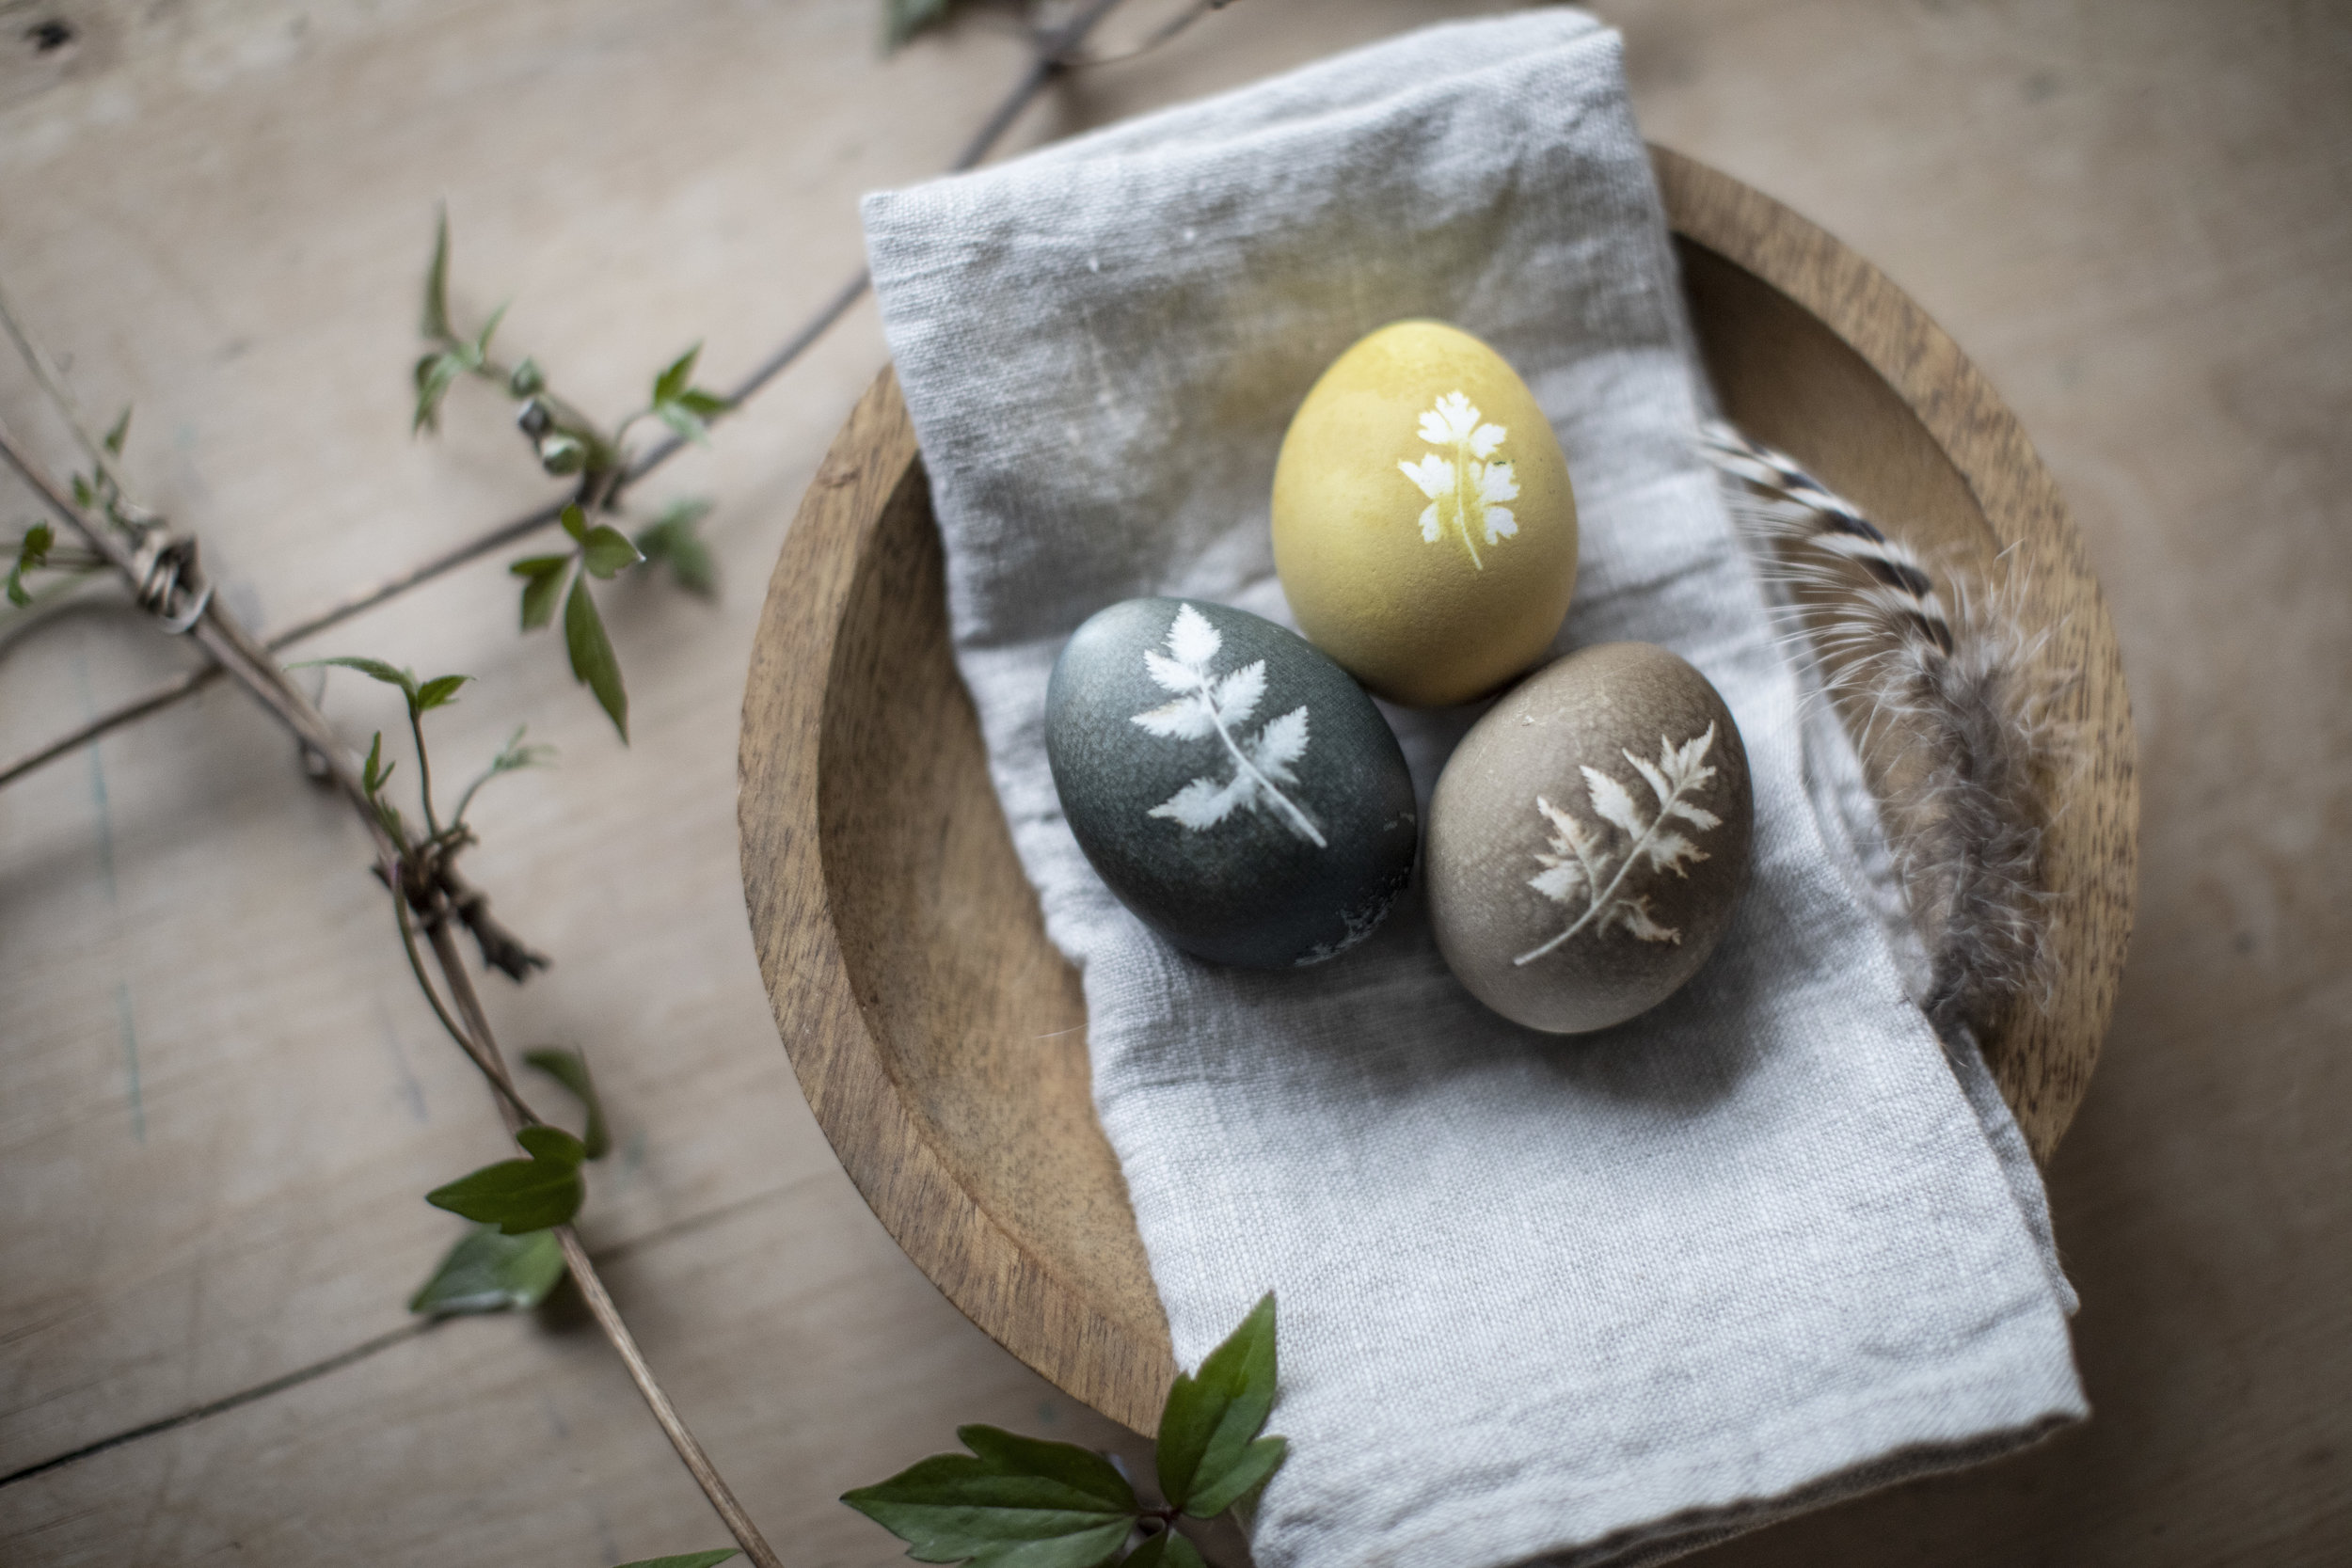
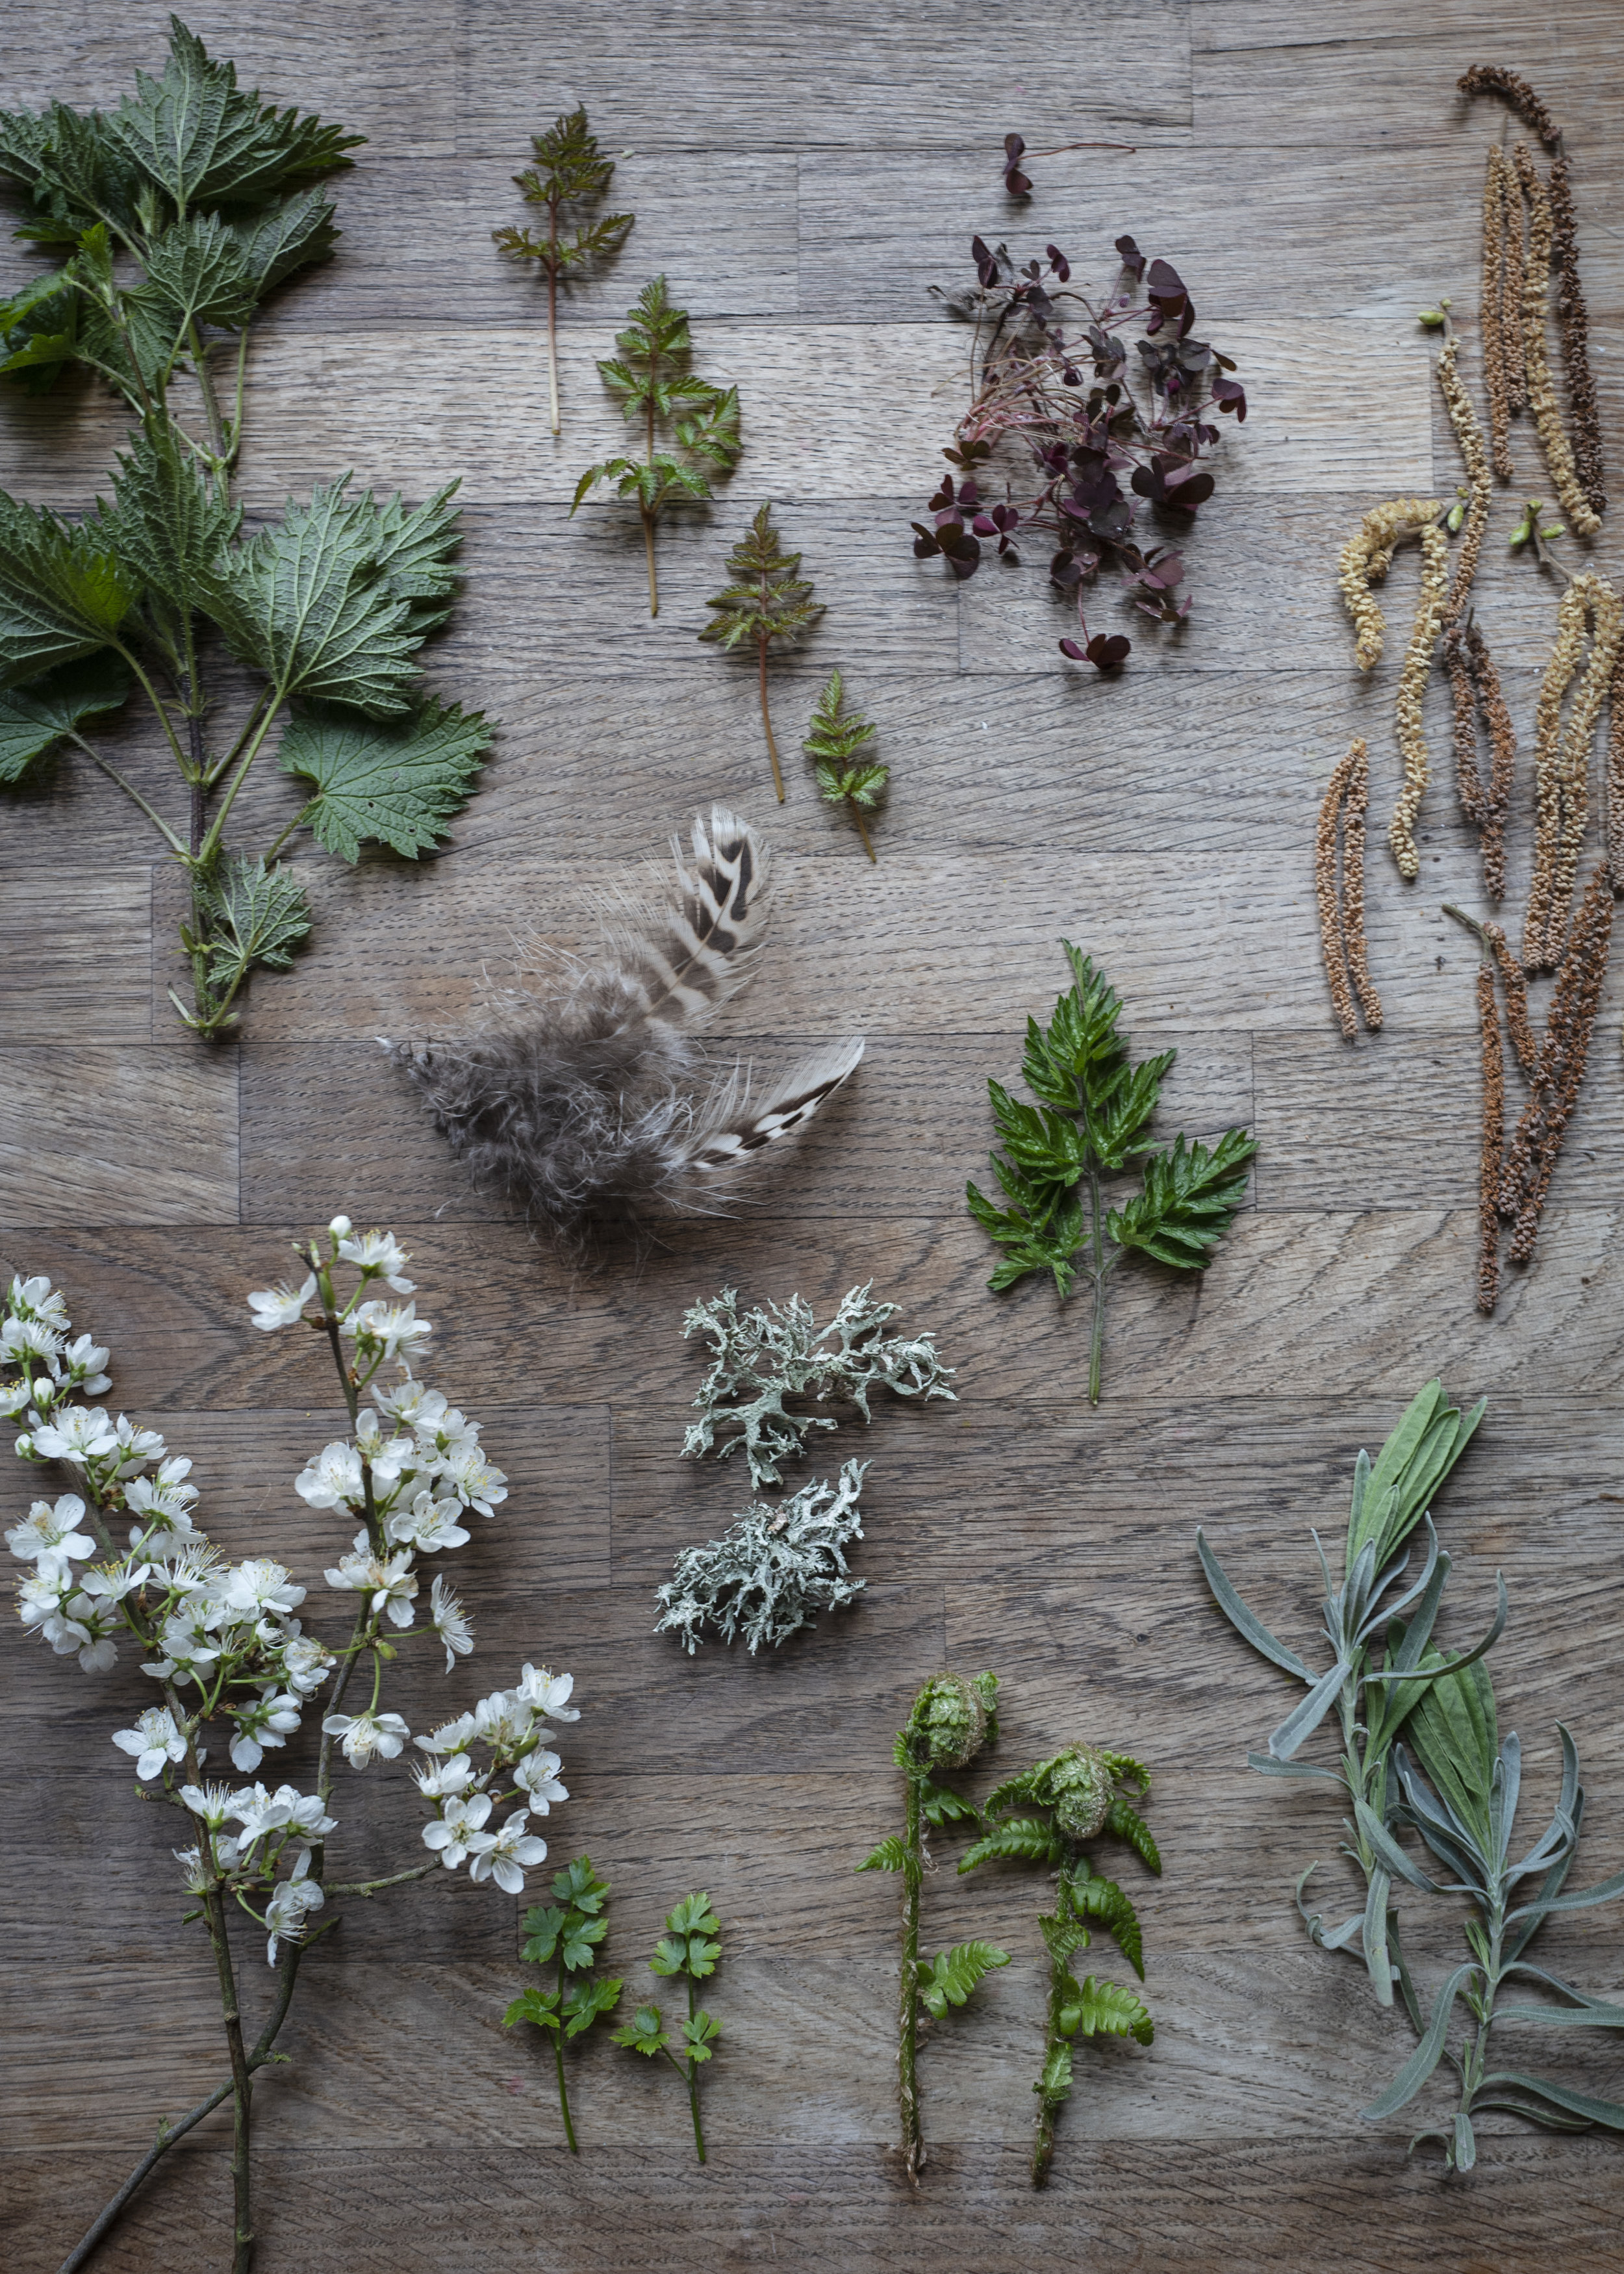
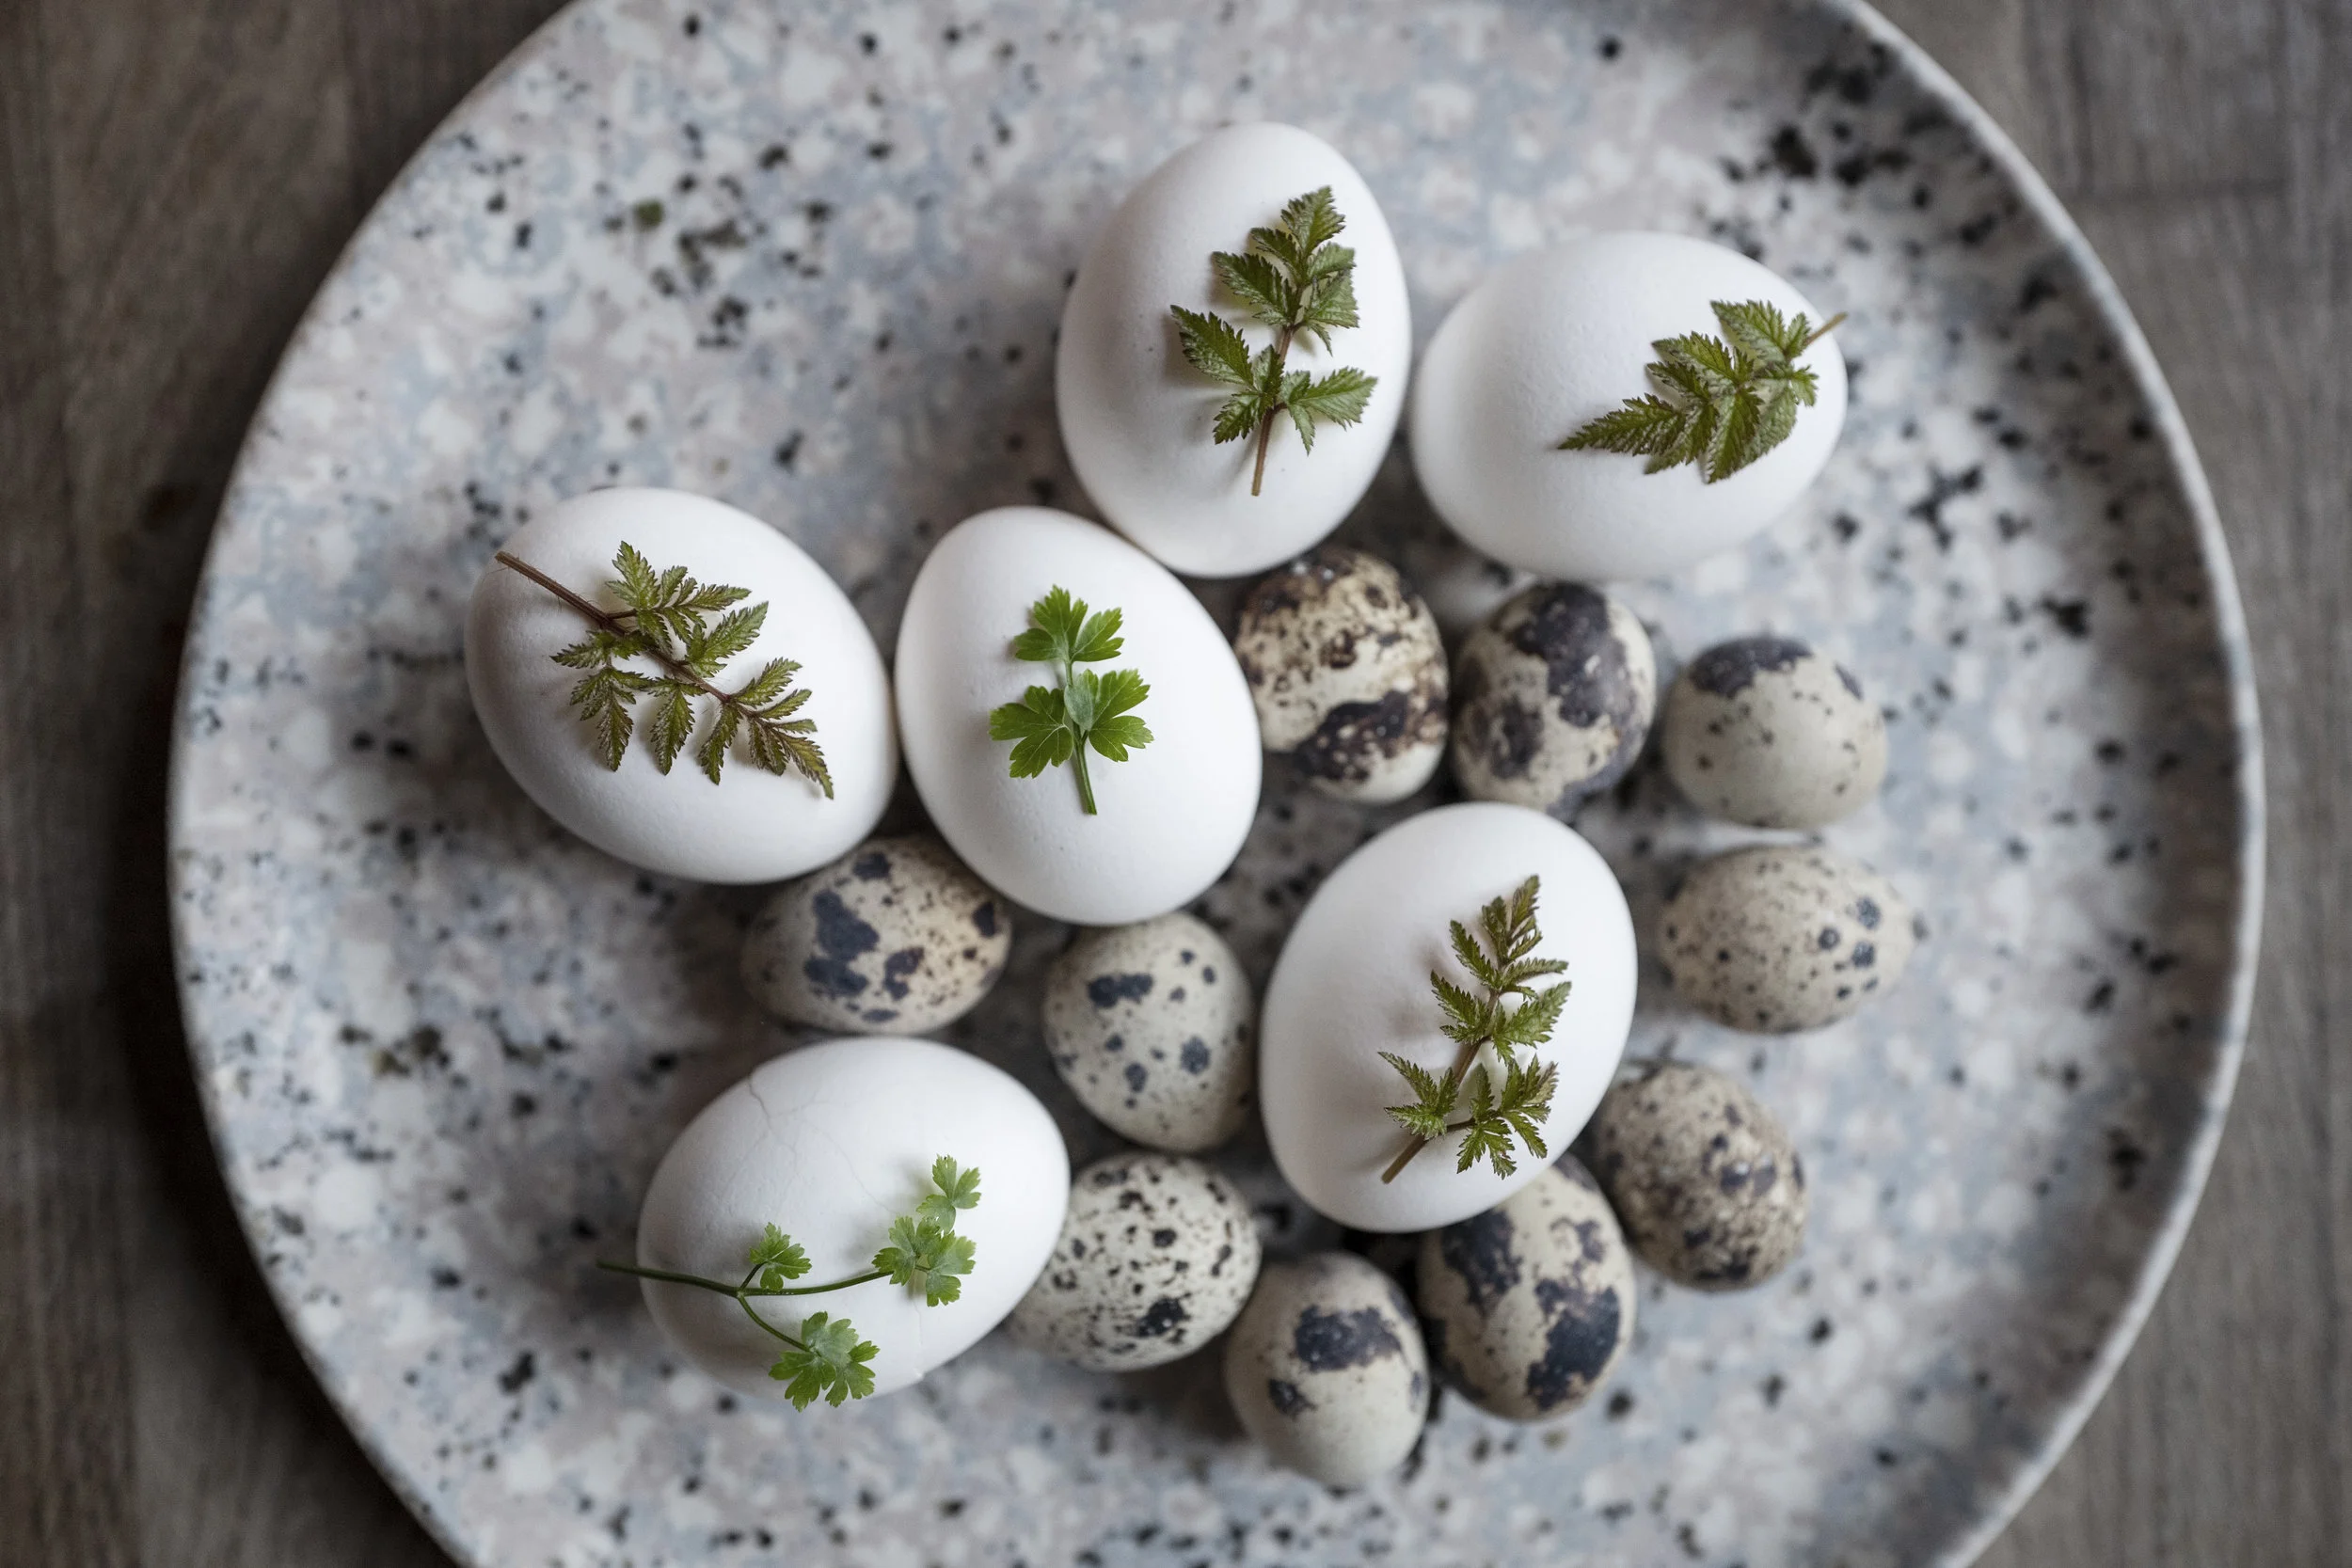
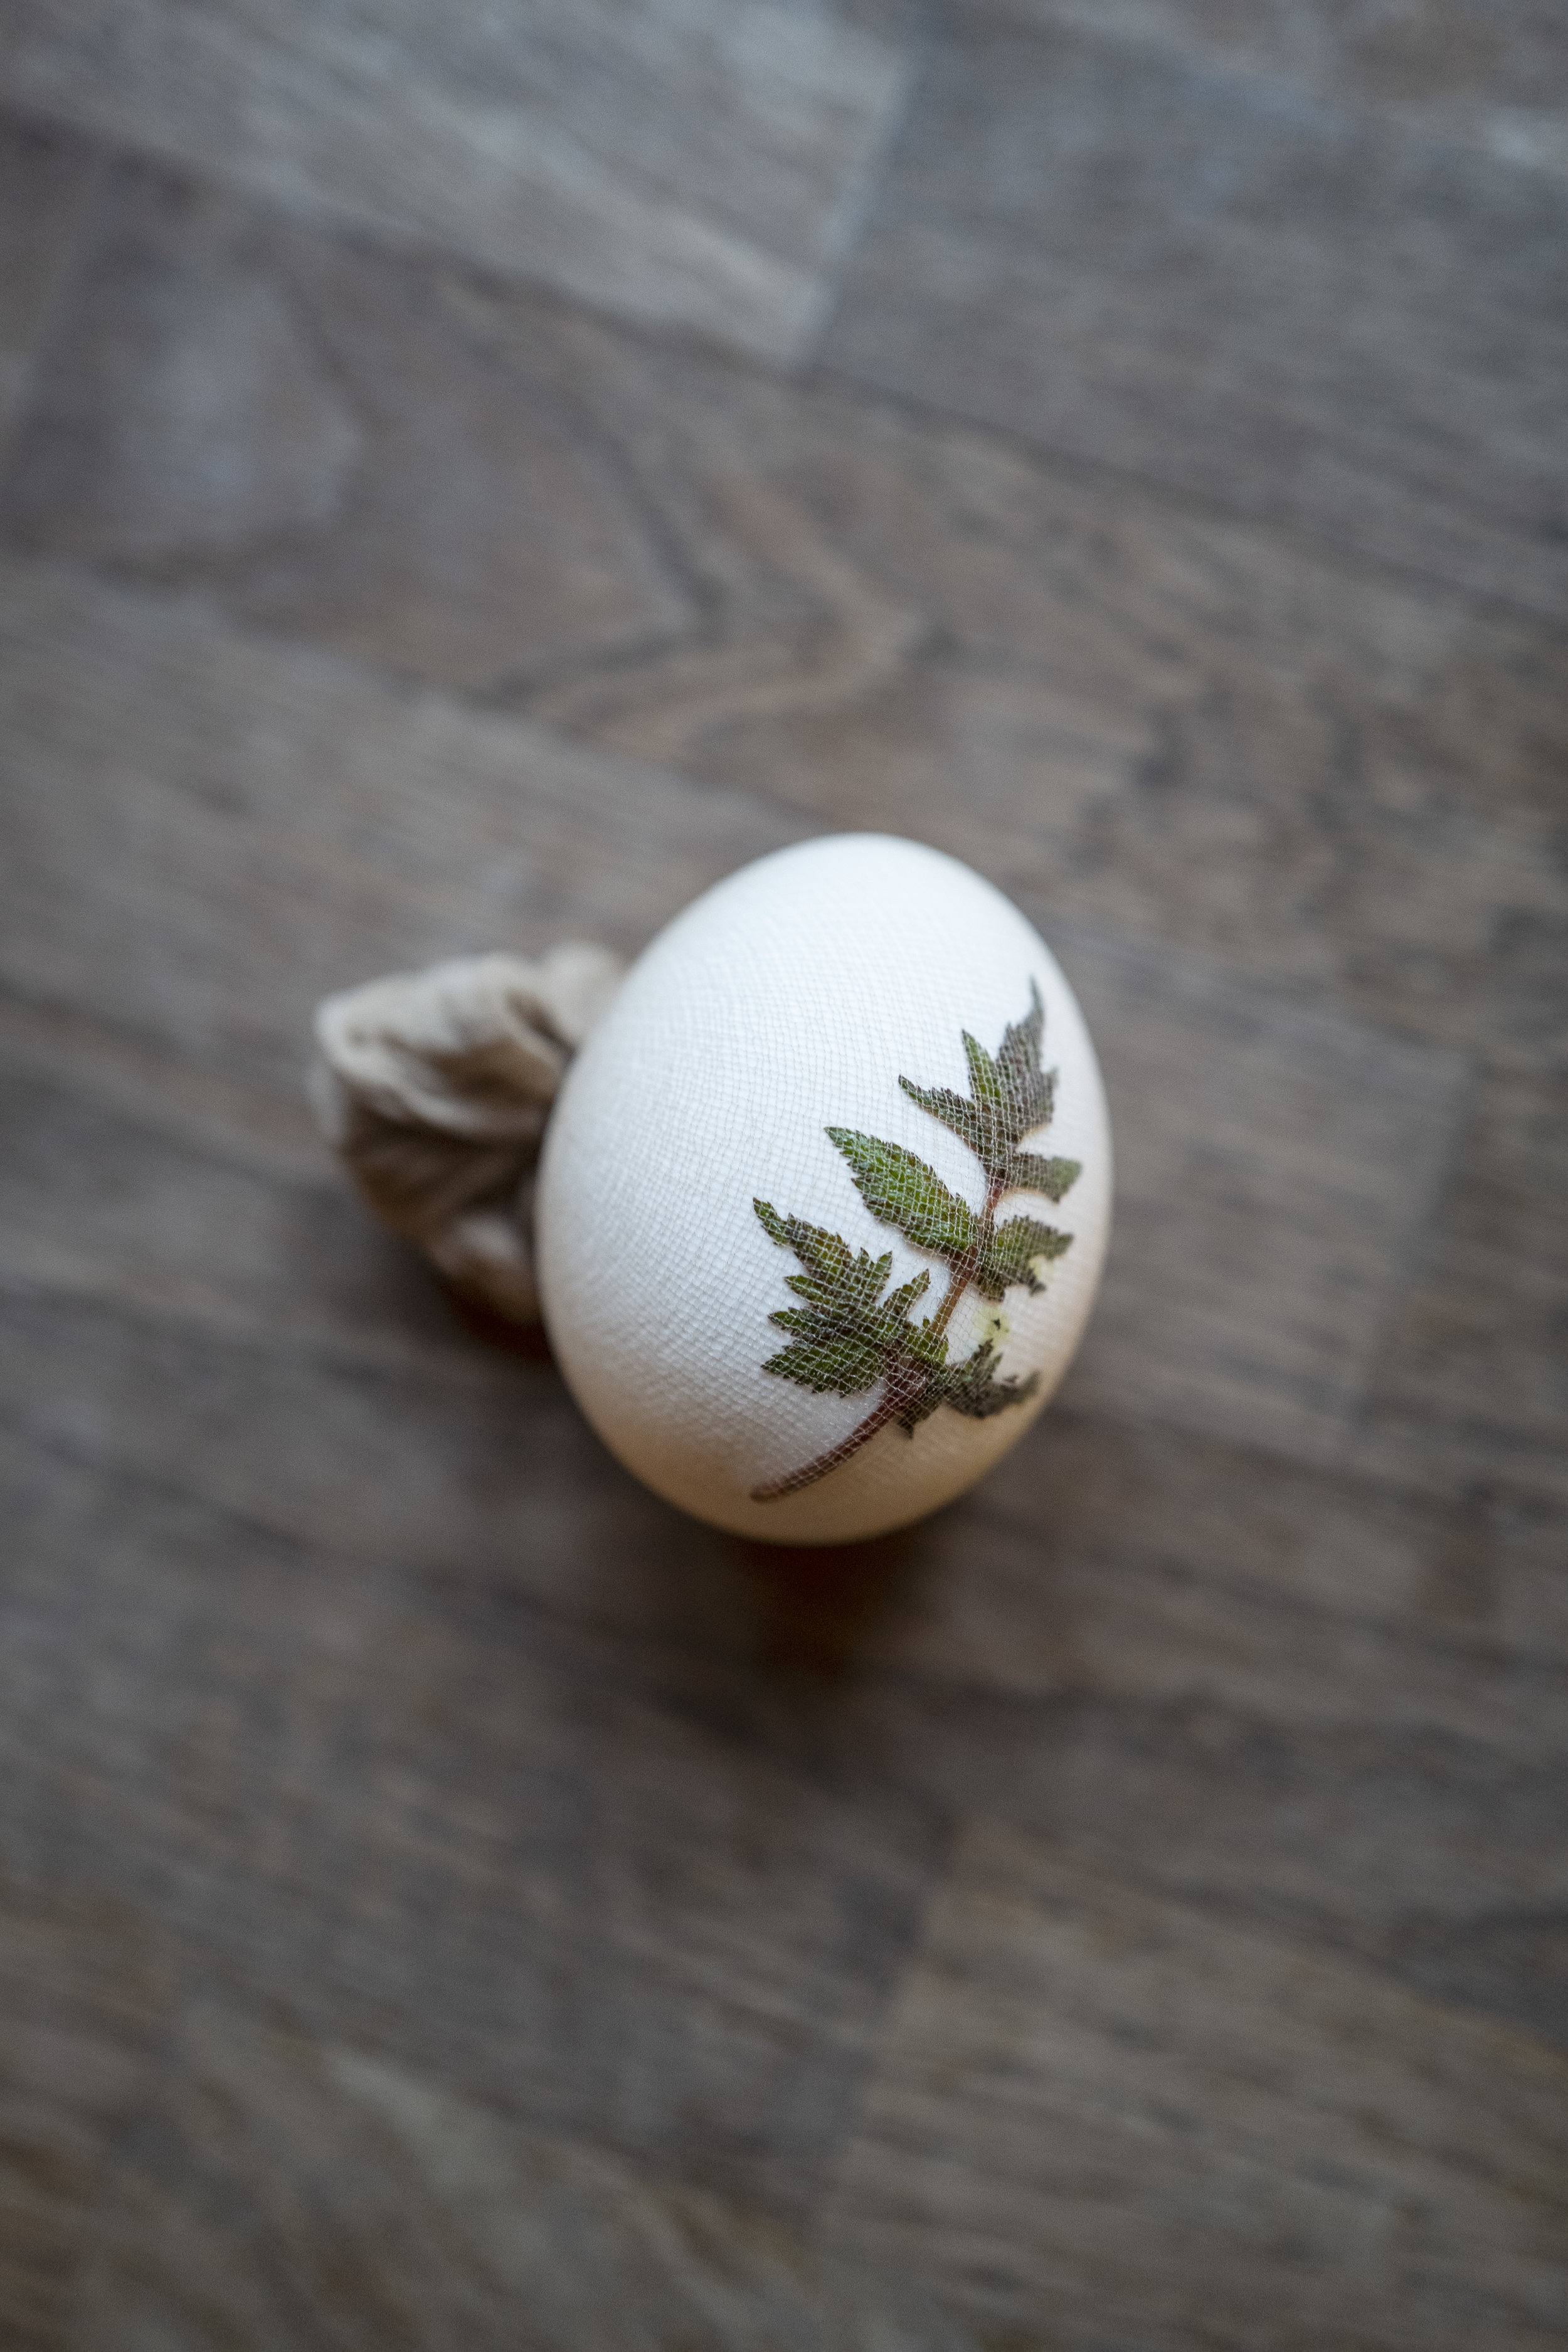
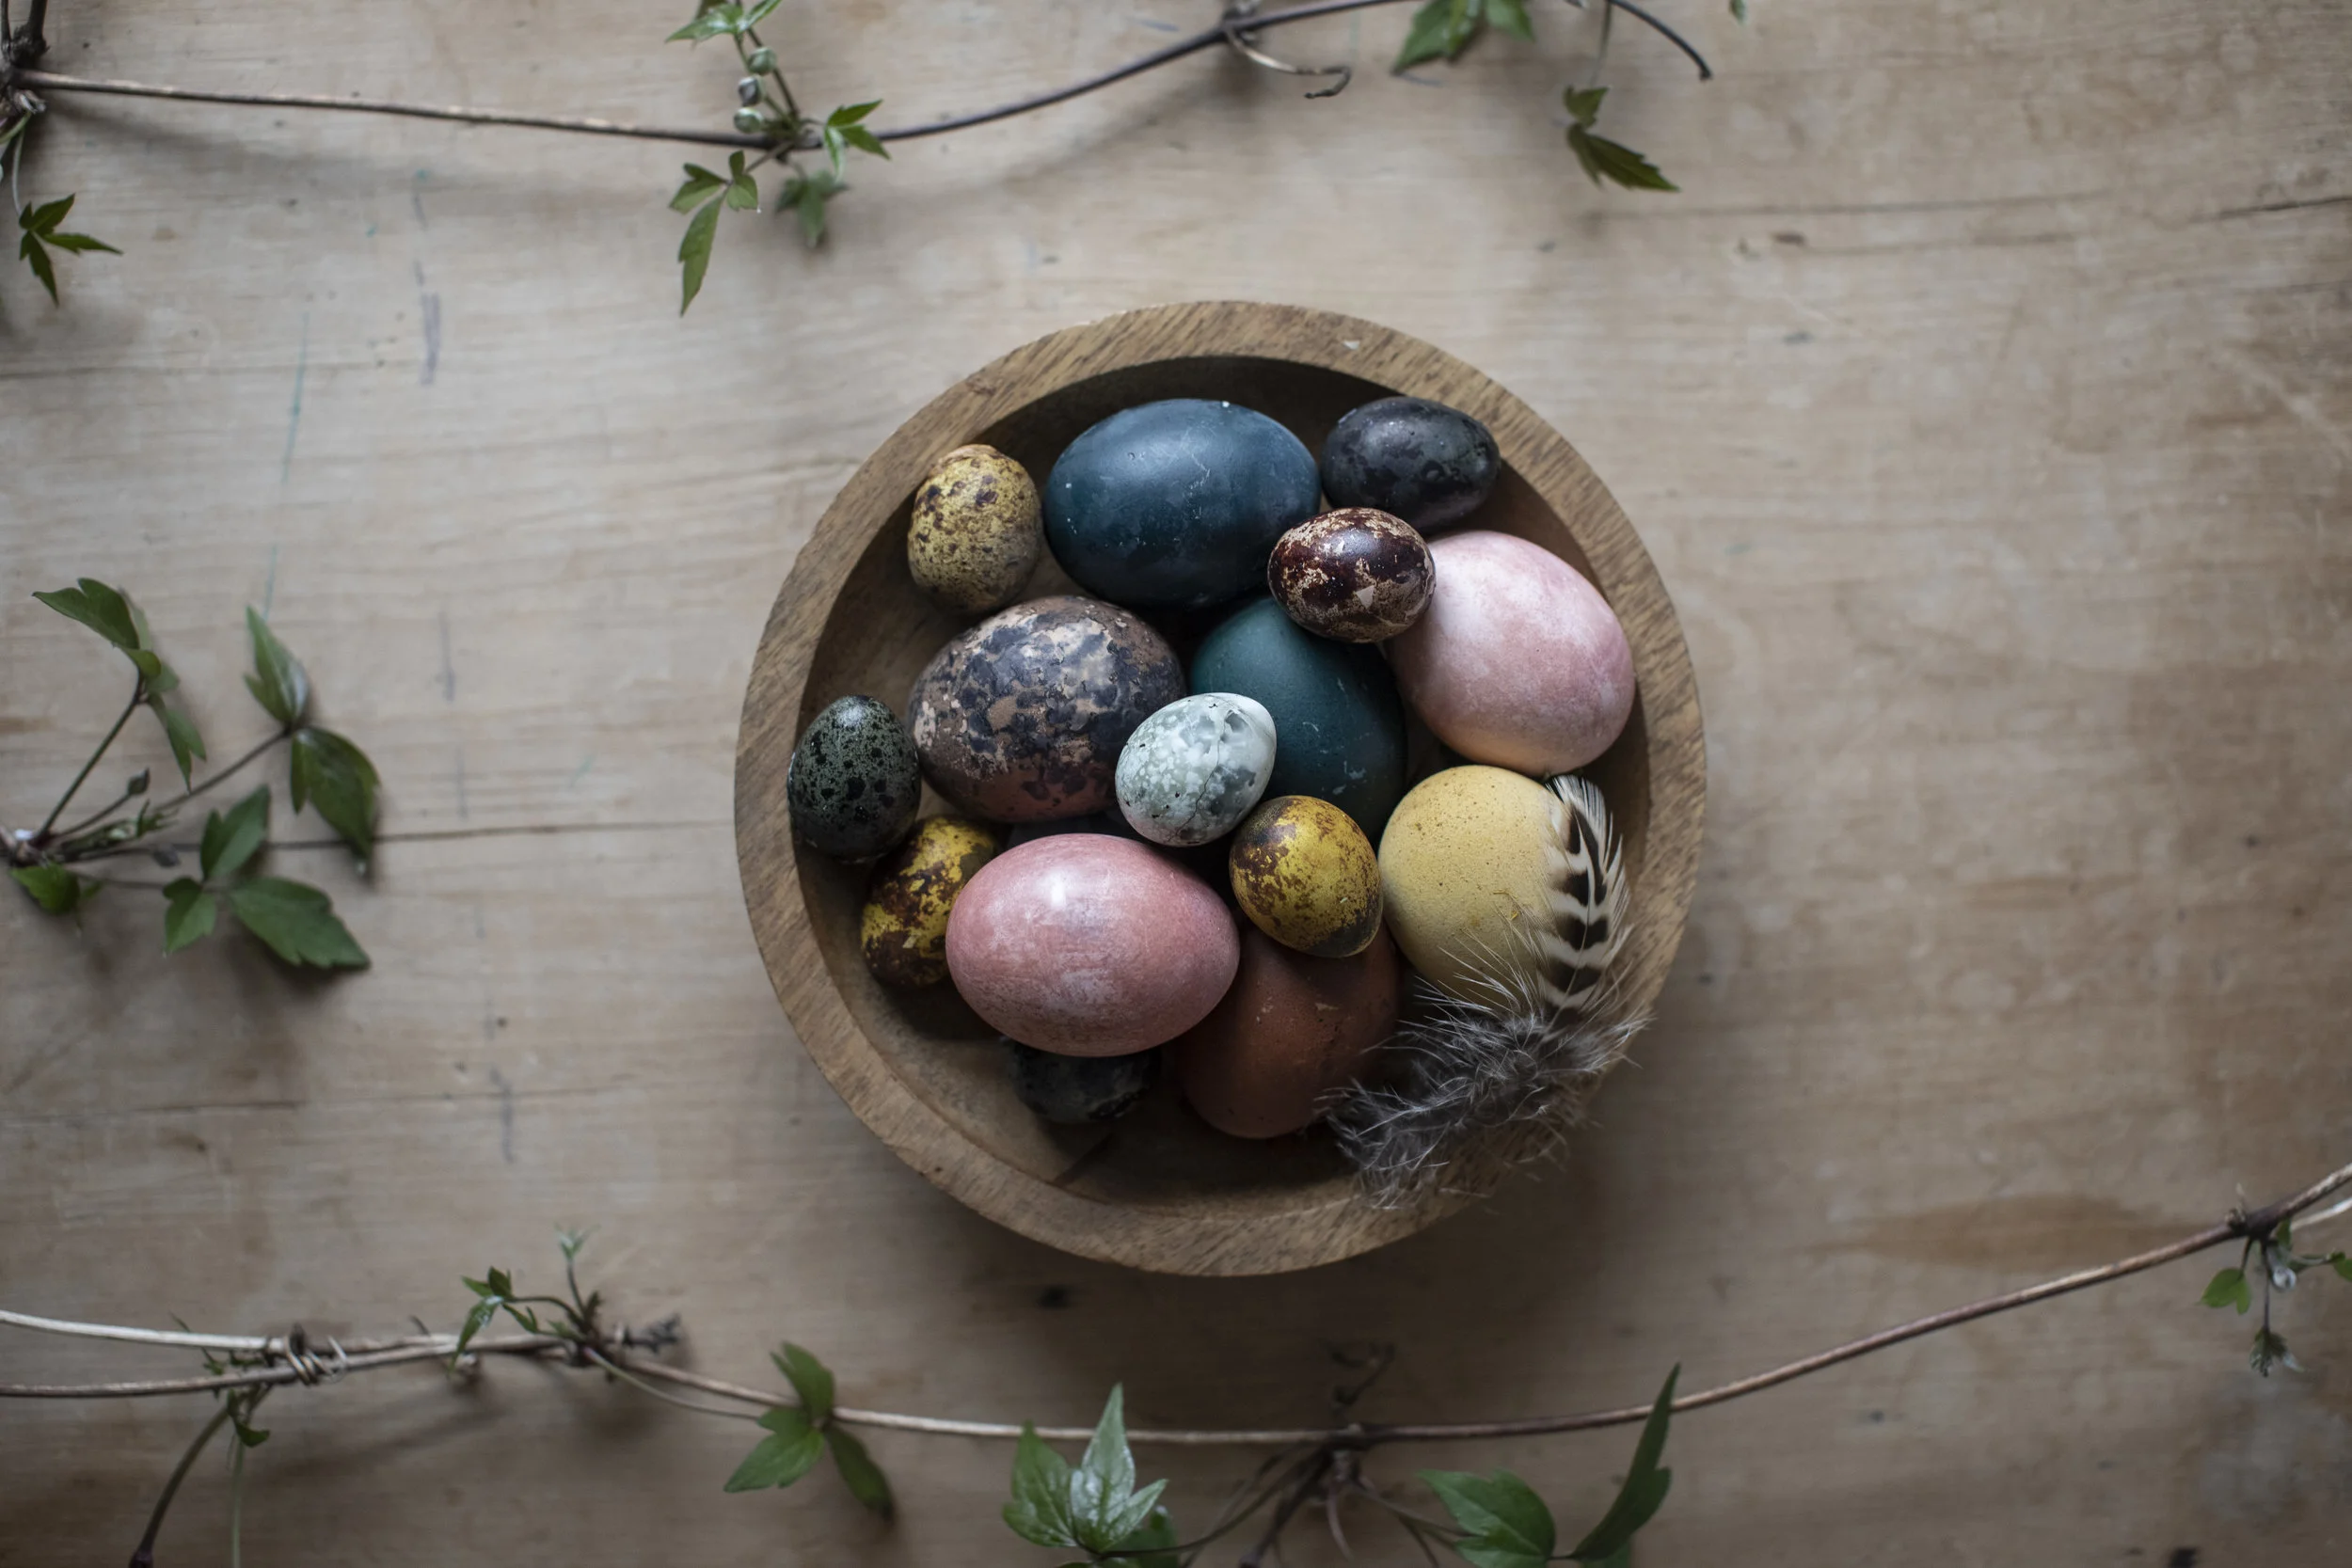
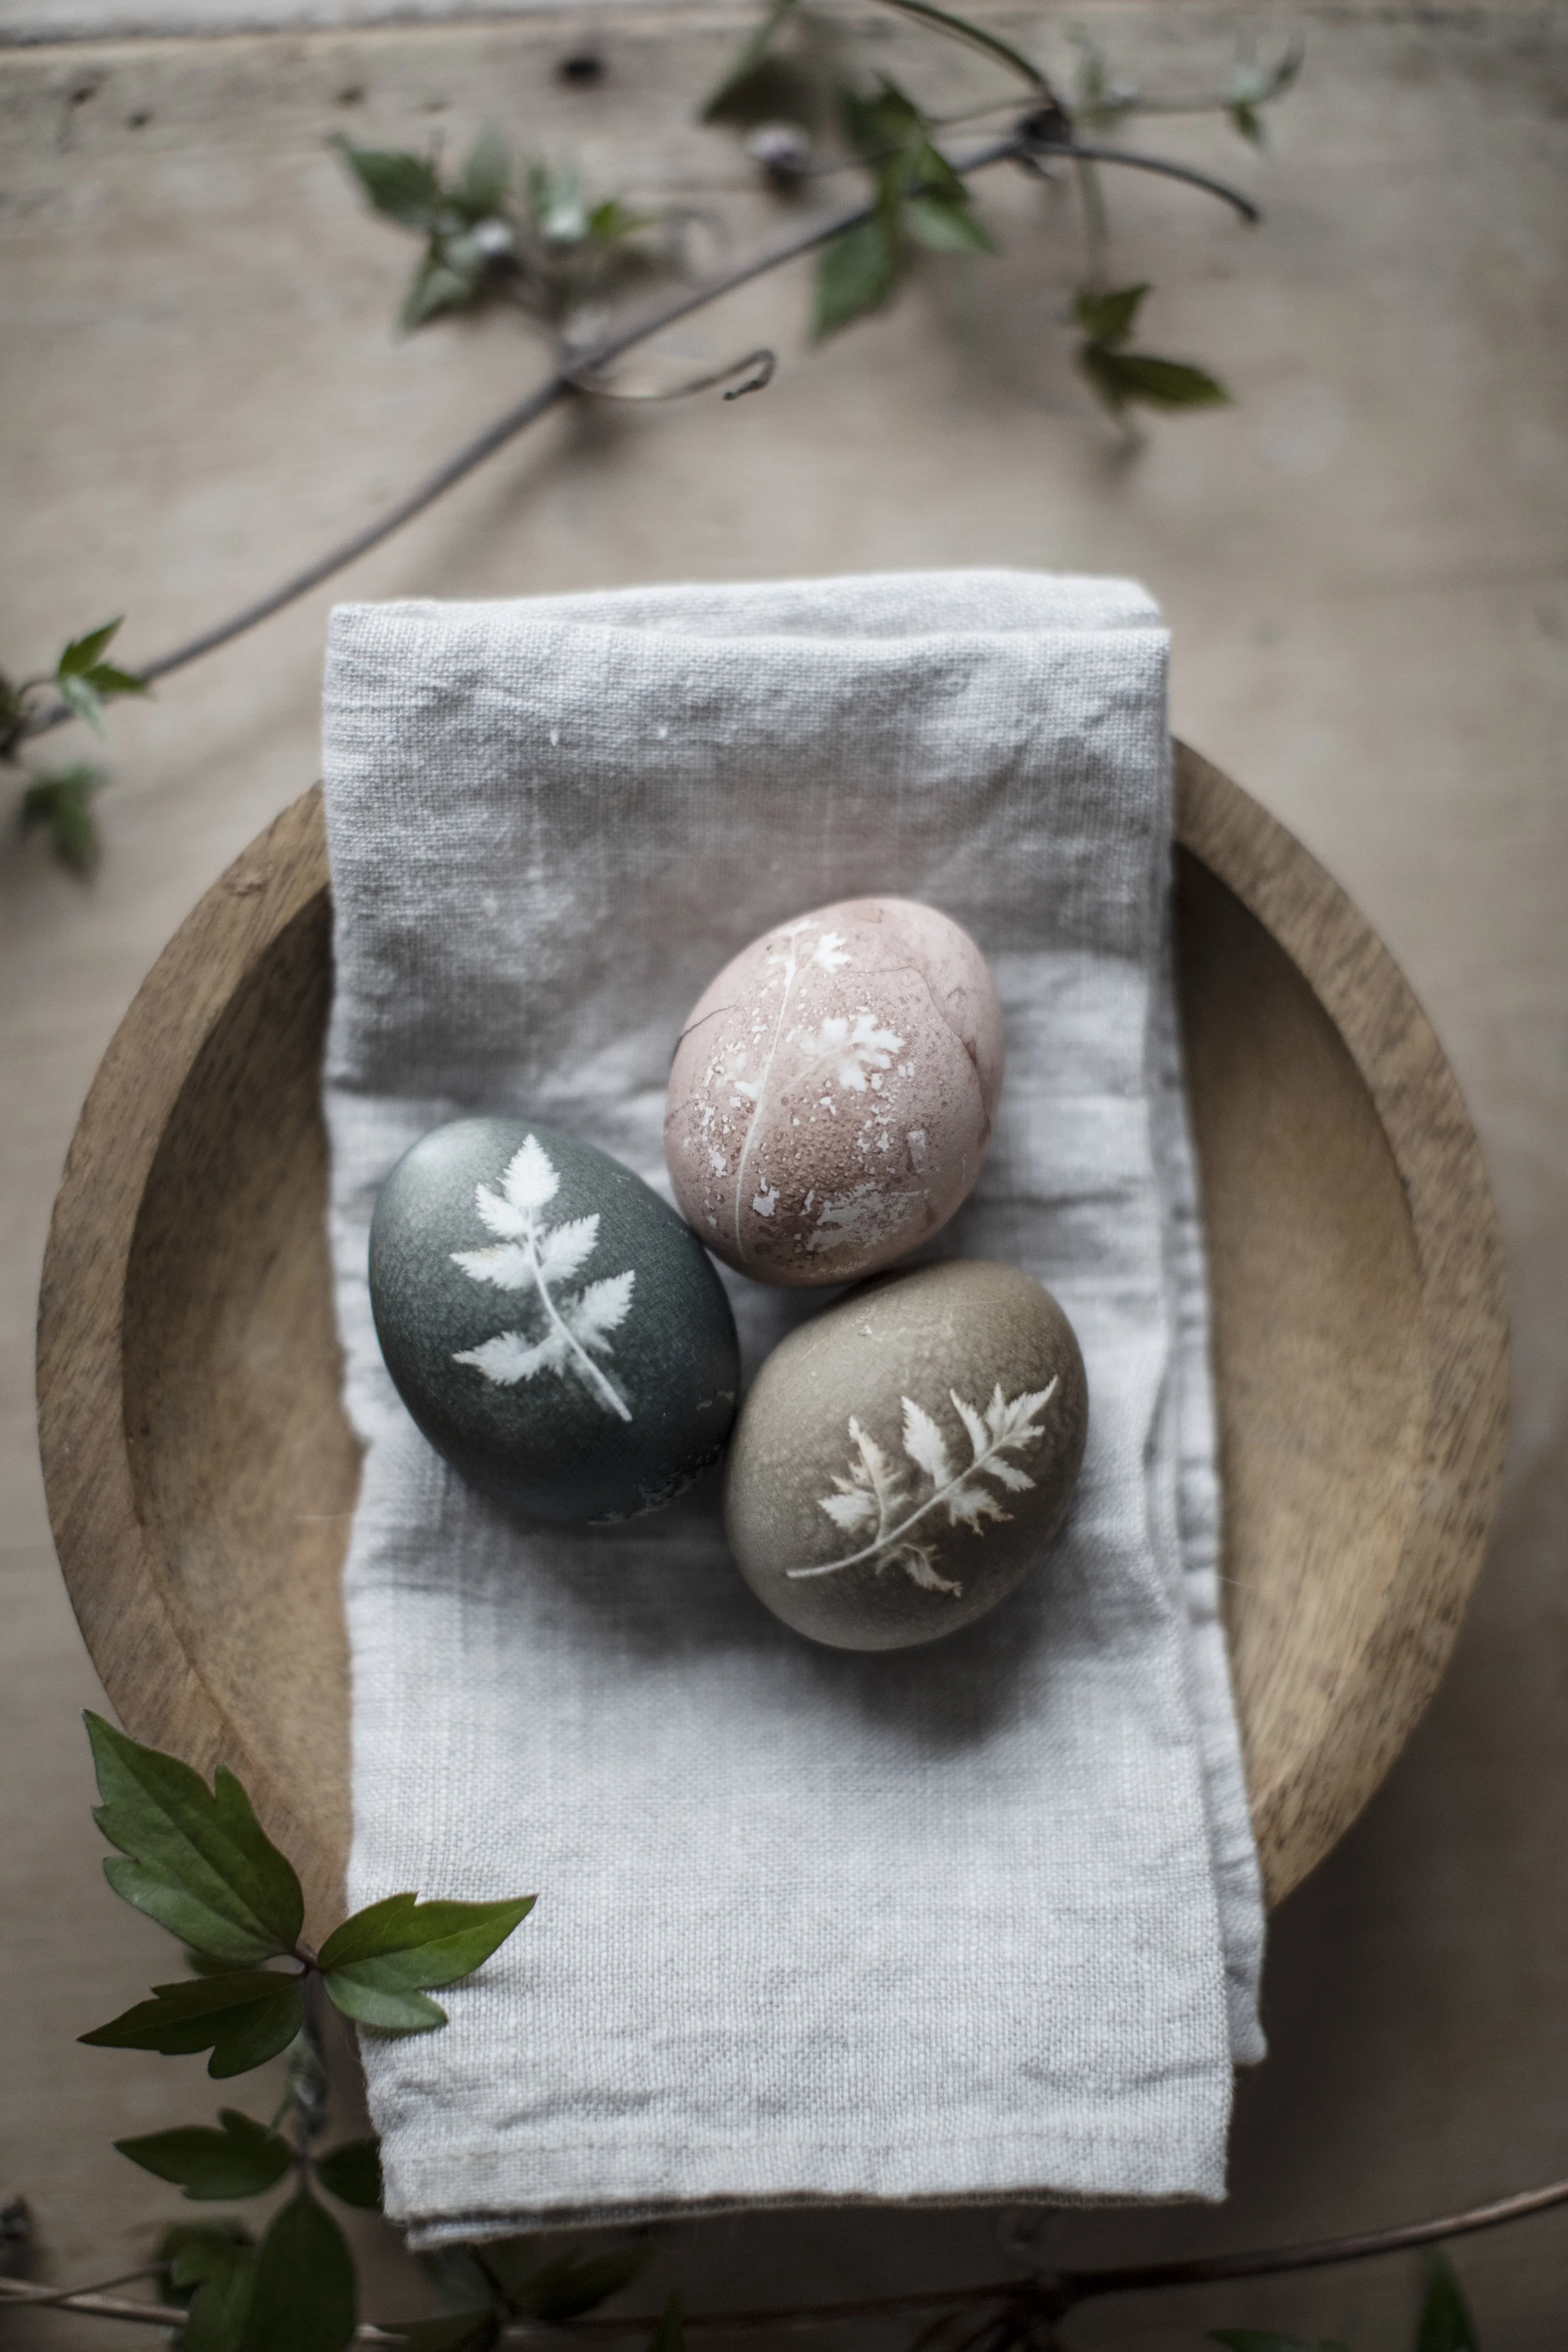
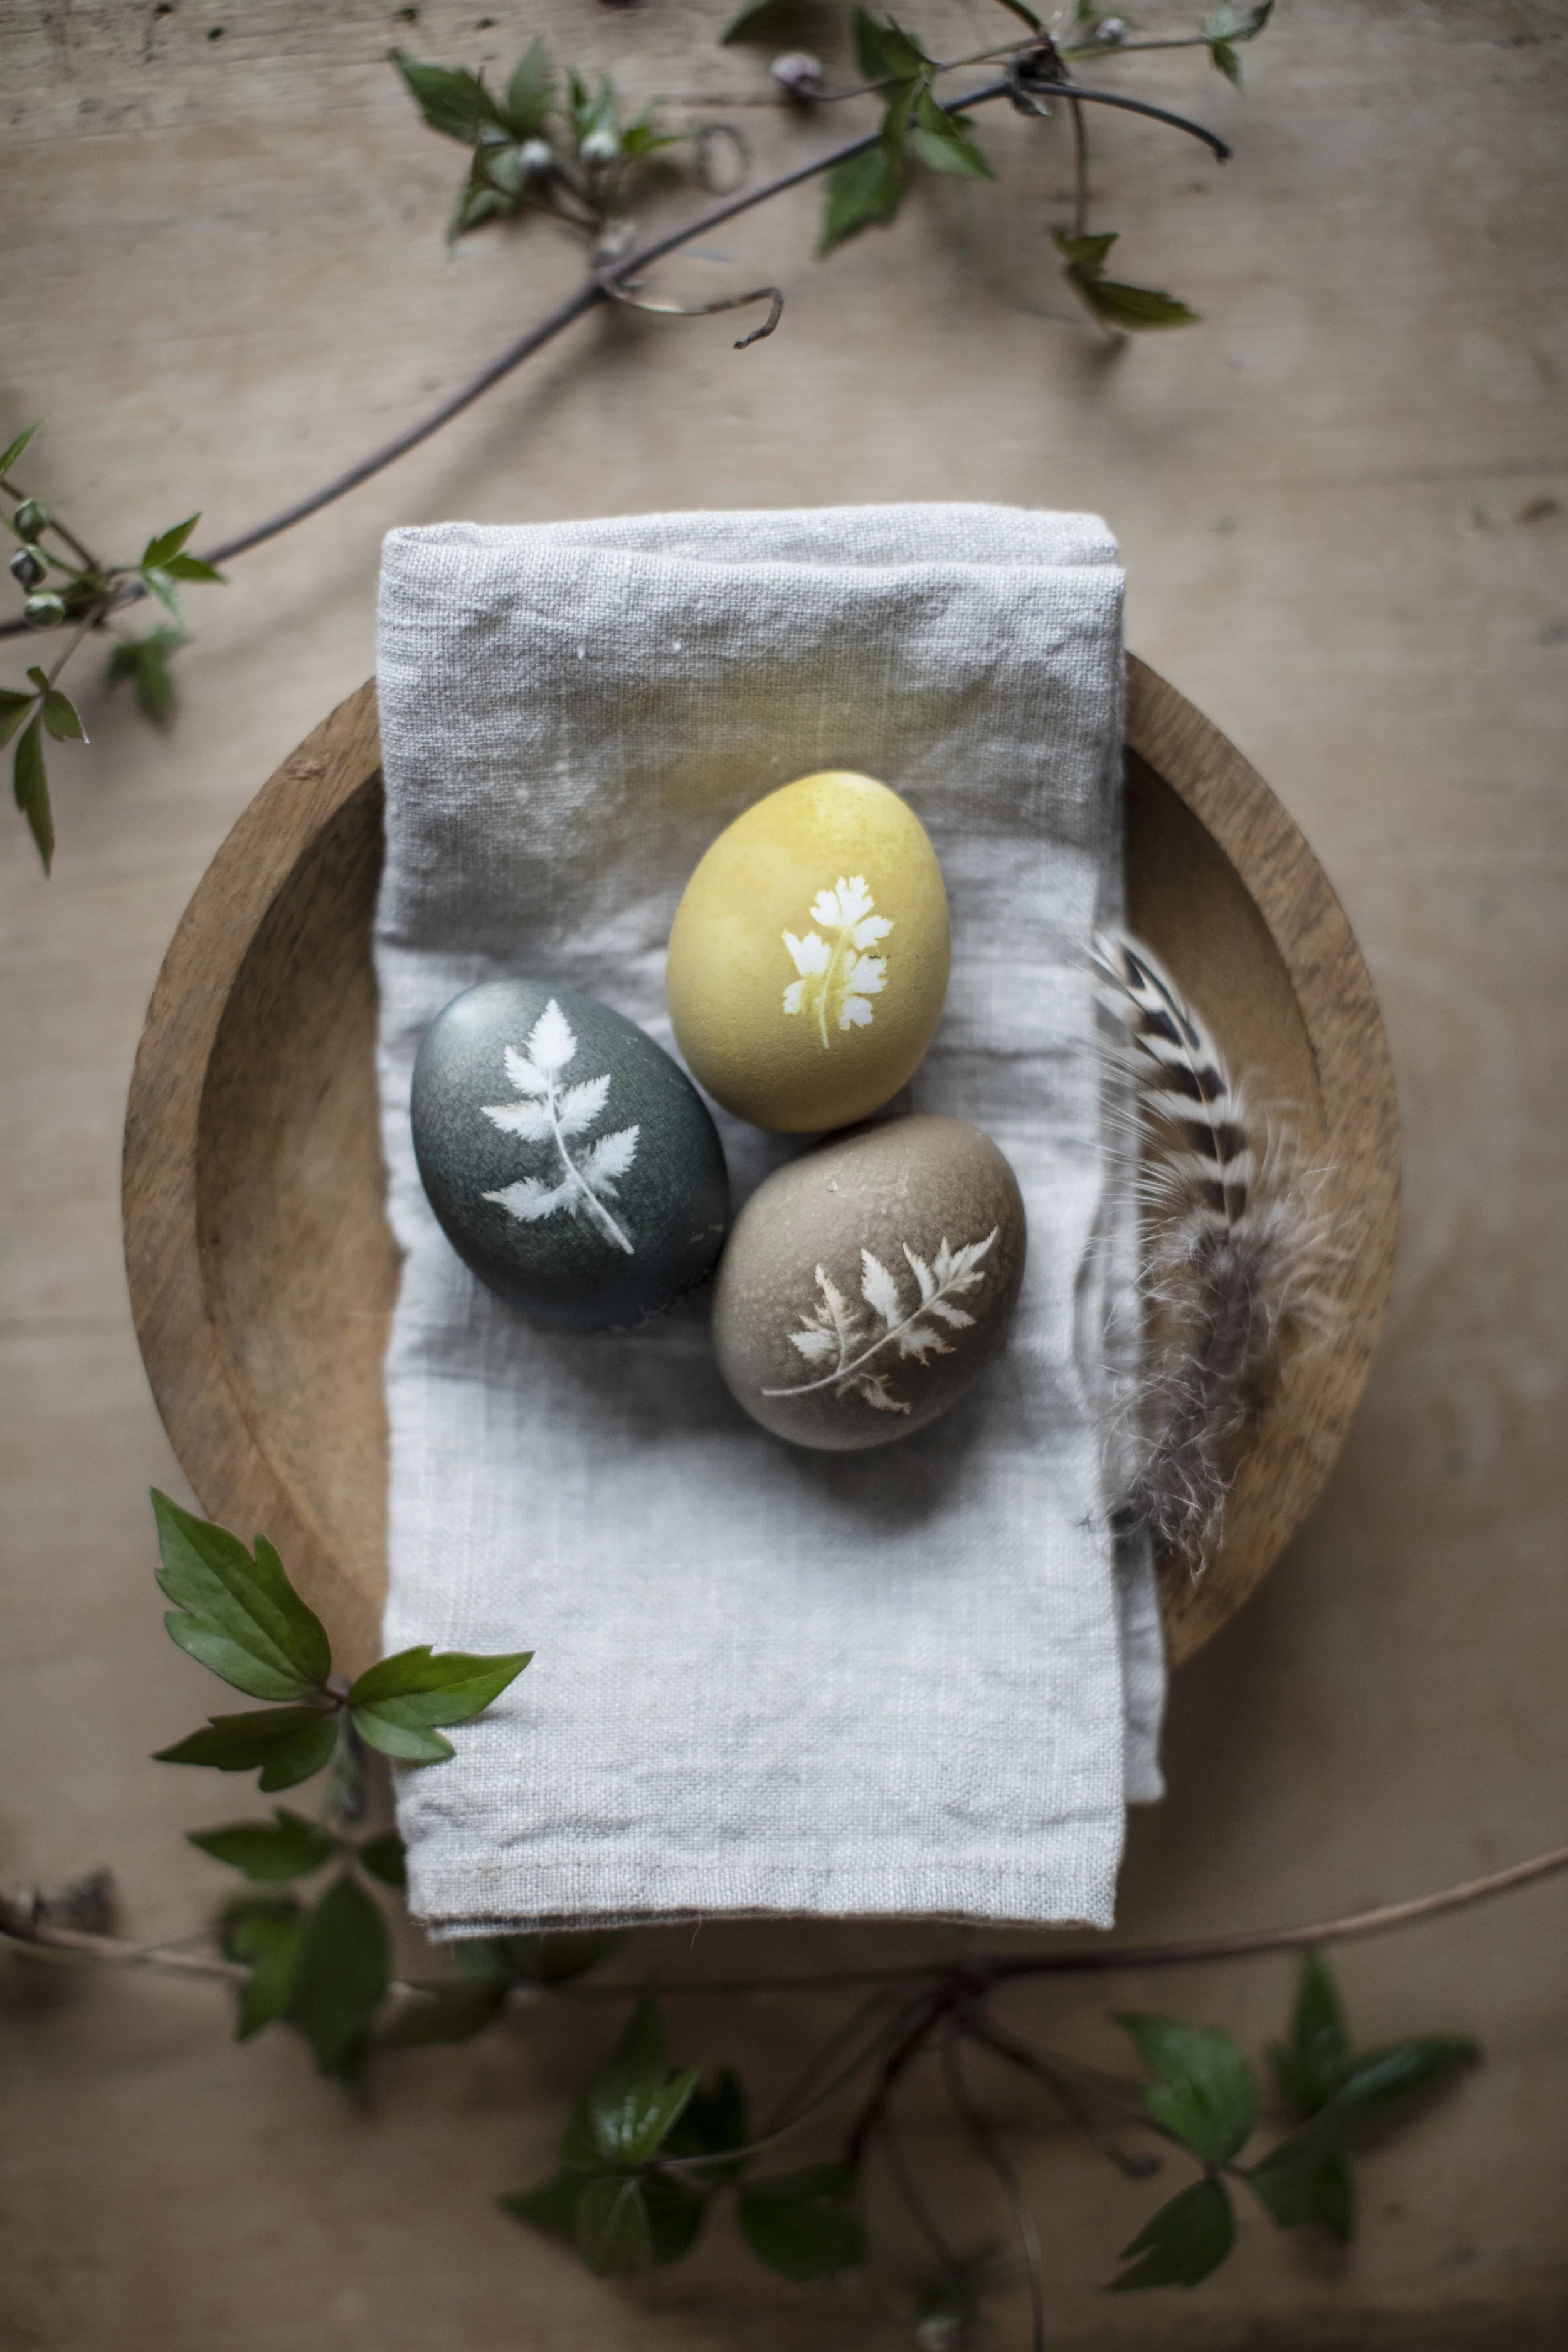
From the kitchen I gathered some frozen blueberries, avocado stones and skins, green and hibiscus teas, turmeric and red cabbage. I picked some lavender leaves from the garden, but I was also interested to see what was growing in the wild that we could experiment with, too. I’d also seen a technique on Pinterest where you attach tiny leaves to eggs before dyeing them, so that the leaf “print” is left behind. The effect reminds me of the cyanotypes that botanist and photographer Anna Atkins made in the mid-1880s. I had varying levels of success with these, but the ones that worked were super impressive.
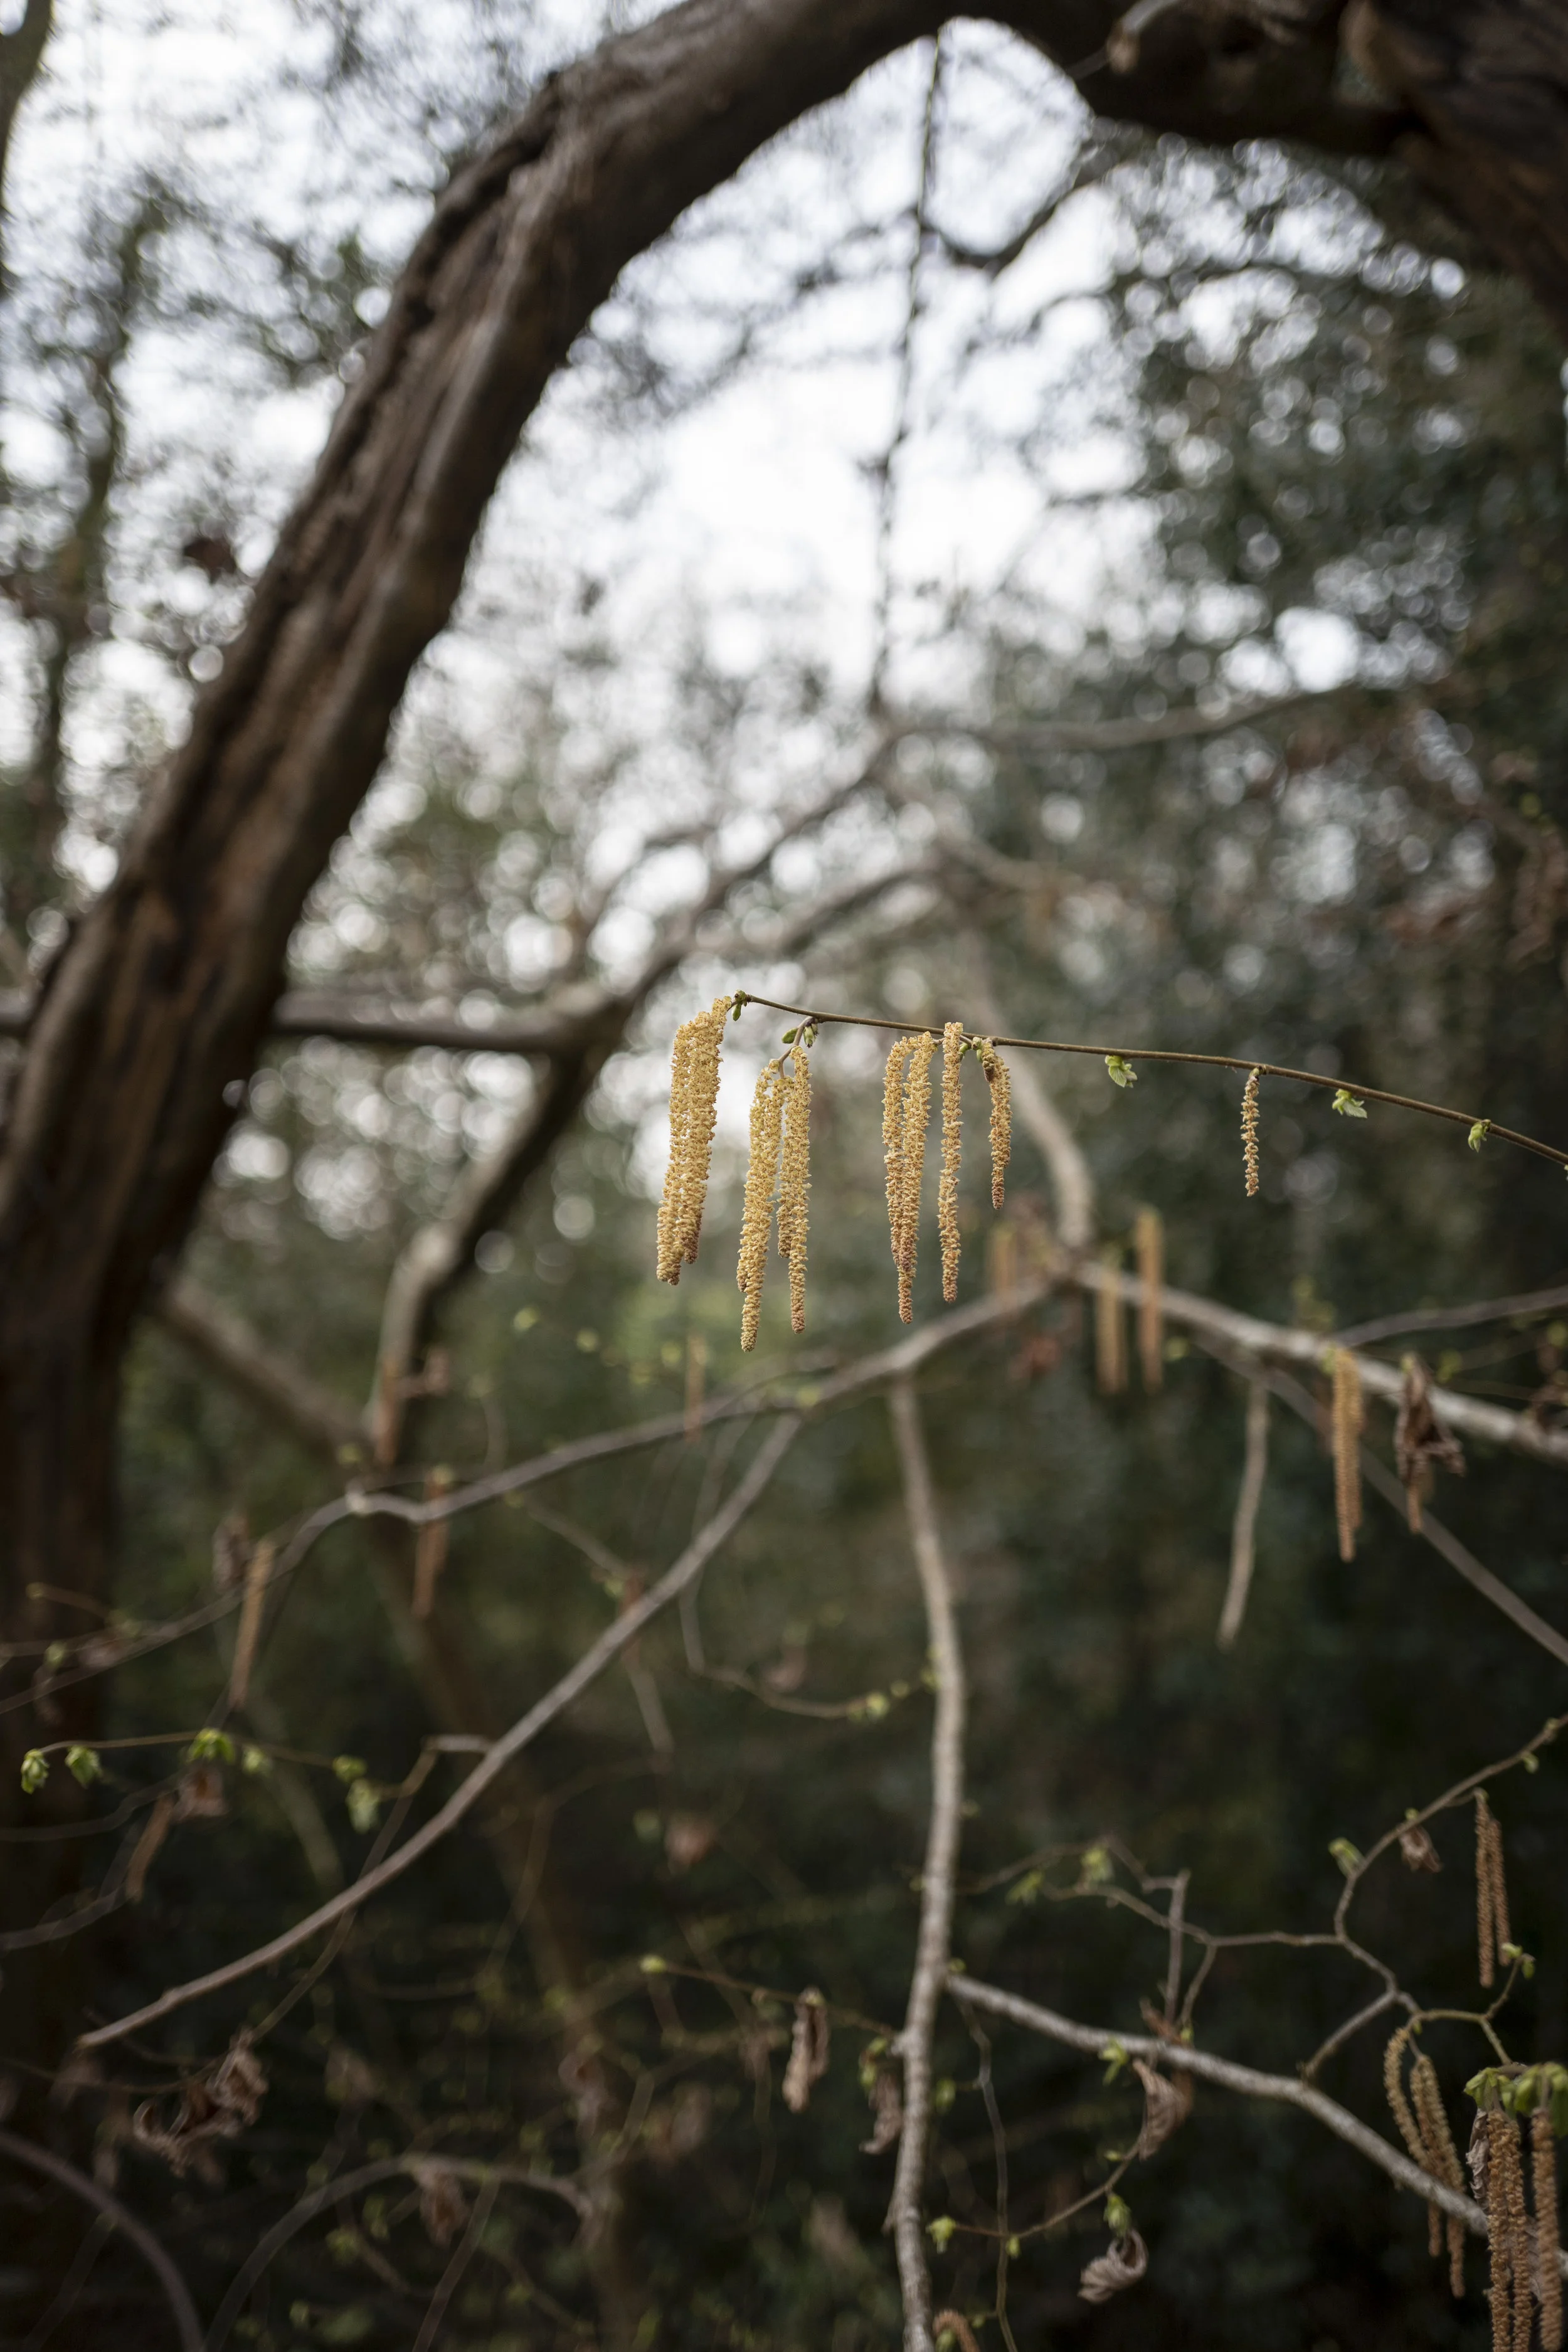
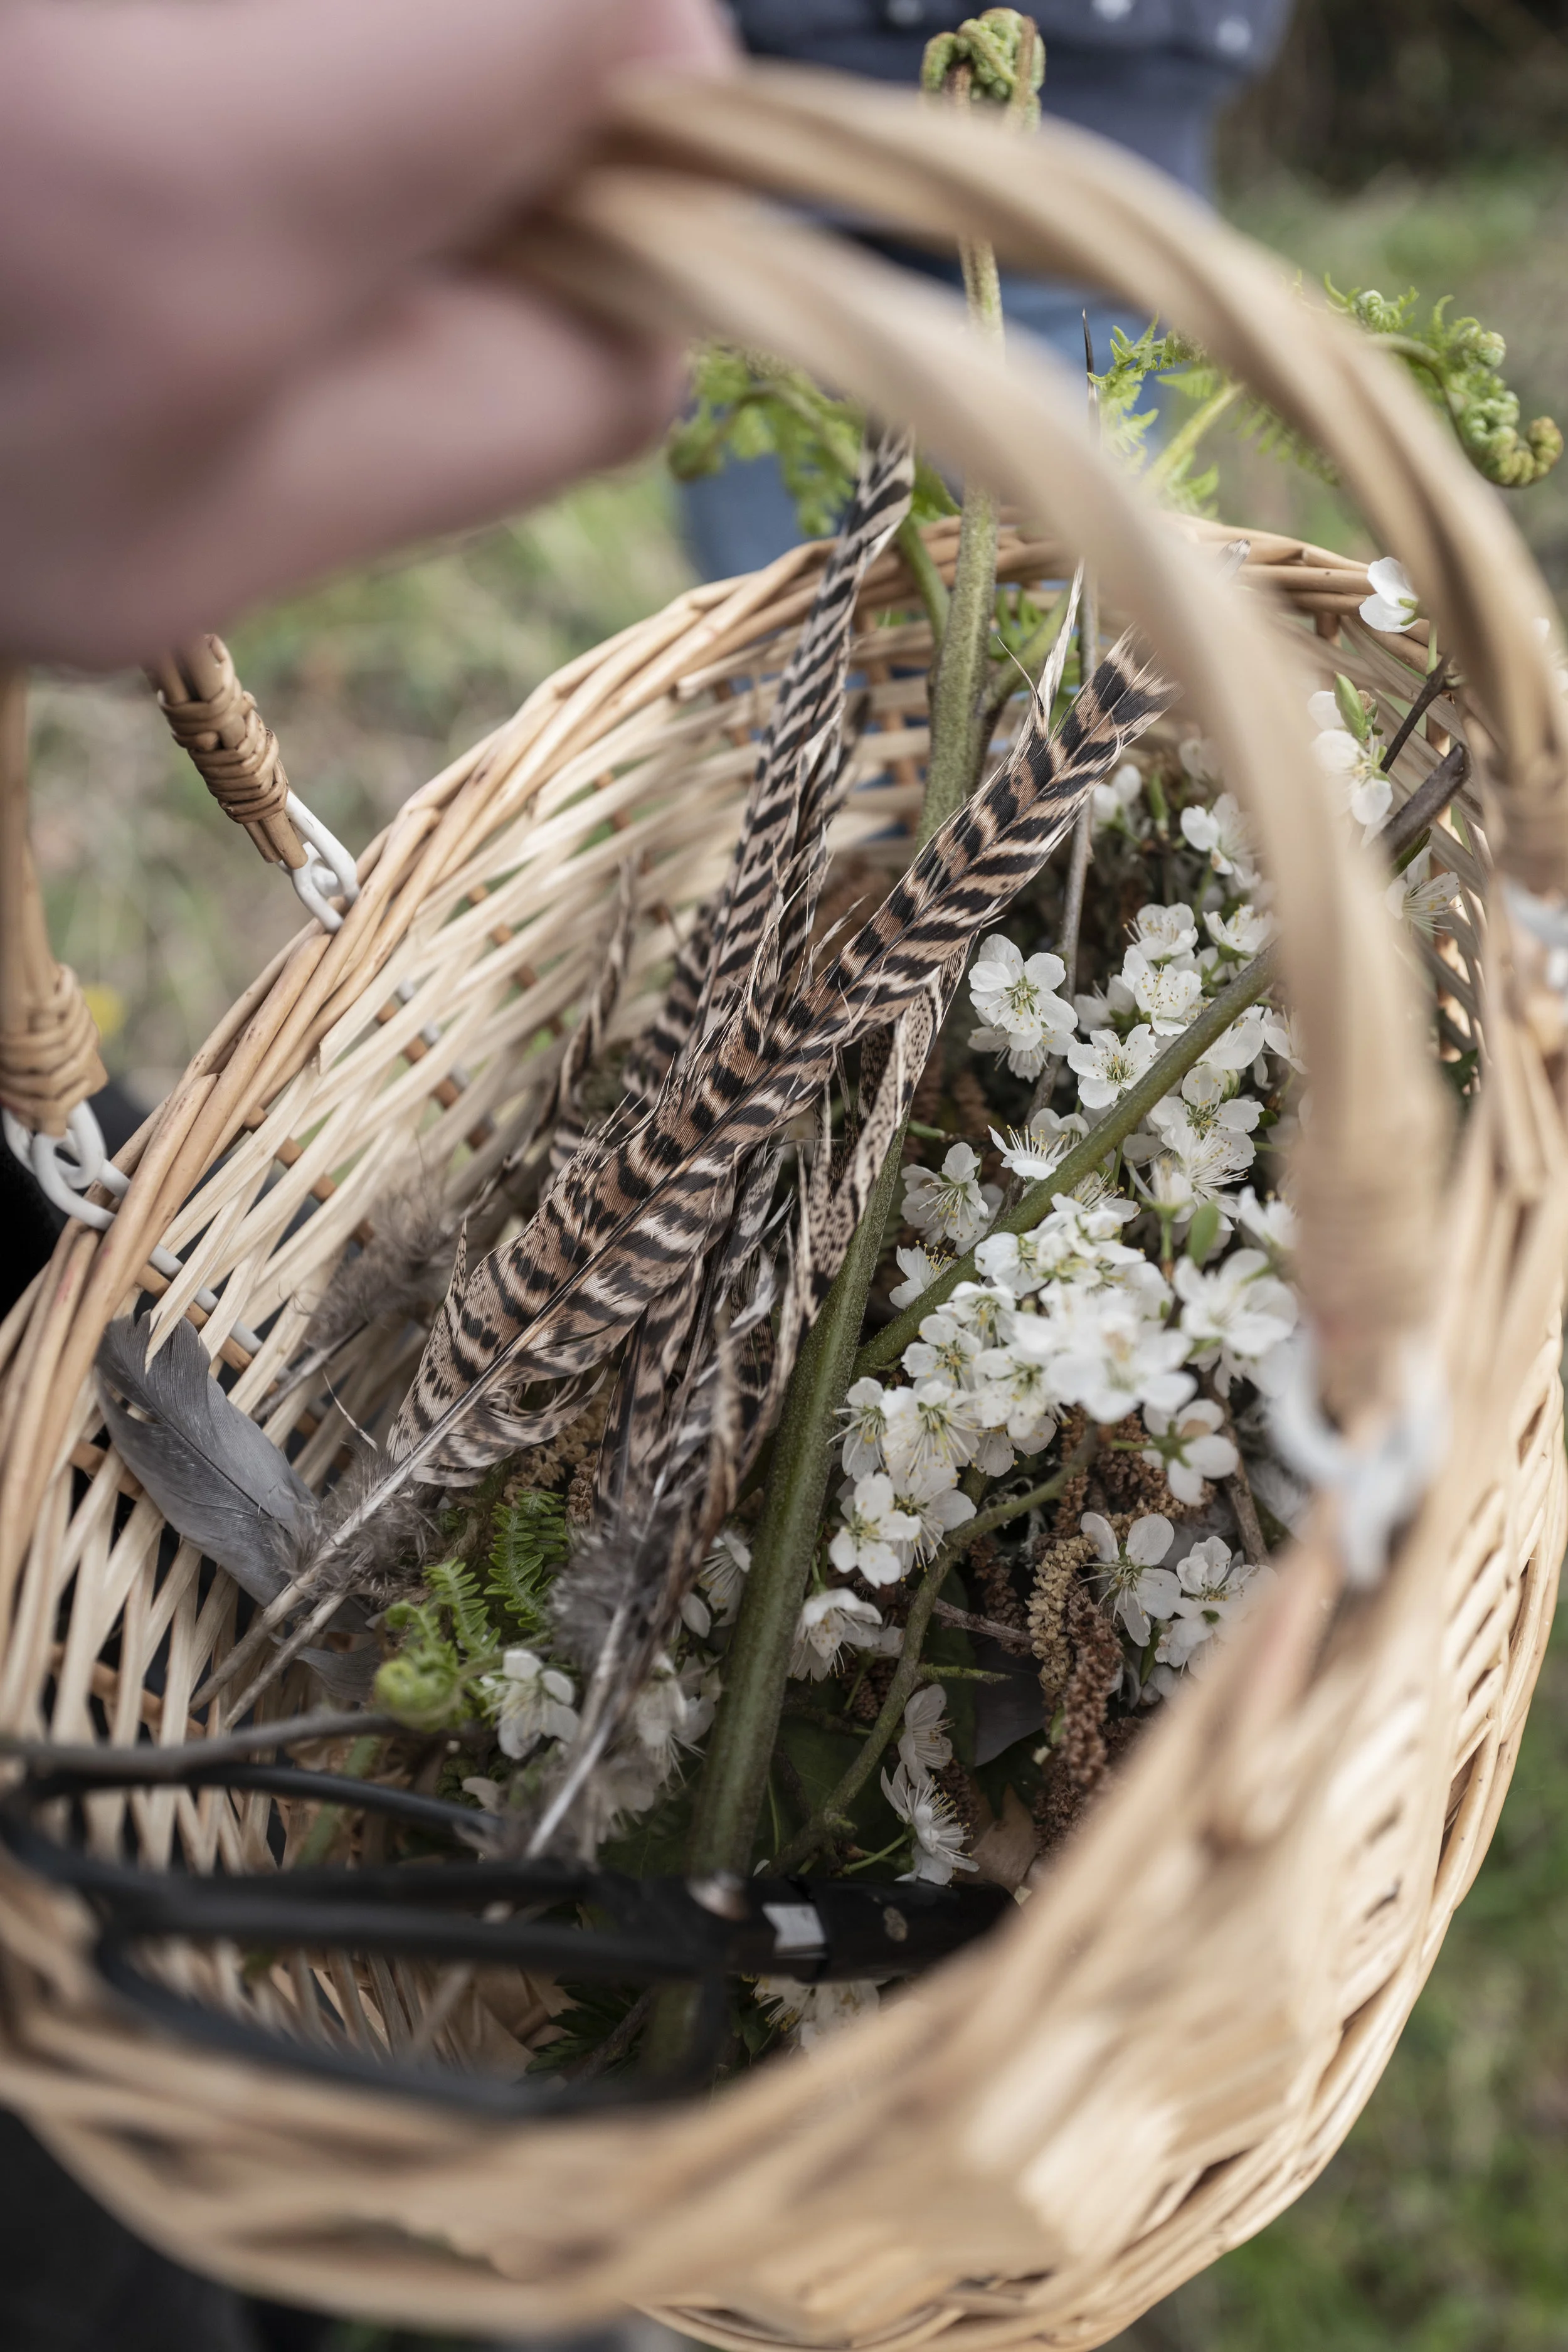
I thought I may experiment with flowers and feather, too. We found lots of blossom on our foraging walk, as well as some beautiful, fluffy pheasant feathers, but I felt neither had a strong enough outline to work as successfully as the leaves (I used small parsley and astilbe leaves that have just started growing in my garden). More successful from our foraged bounty were nettles and alder catkins for making dyes, both recommended by Rebecca Desnos. Overall I think it was the experimental nature of this dyeing process that captured my imagination, as well the children’s. They wrote a list of predictions of how they thought the various dyes would turn out, and we were all surprised, and awed, by the results.
SPRING EDIT
What you’ll need:
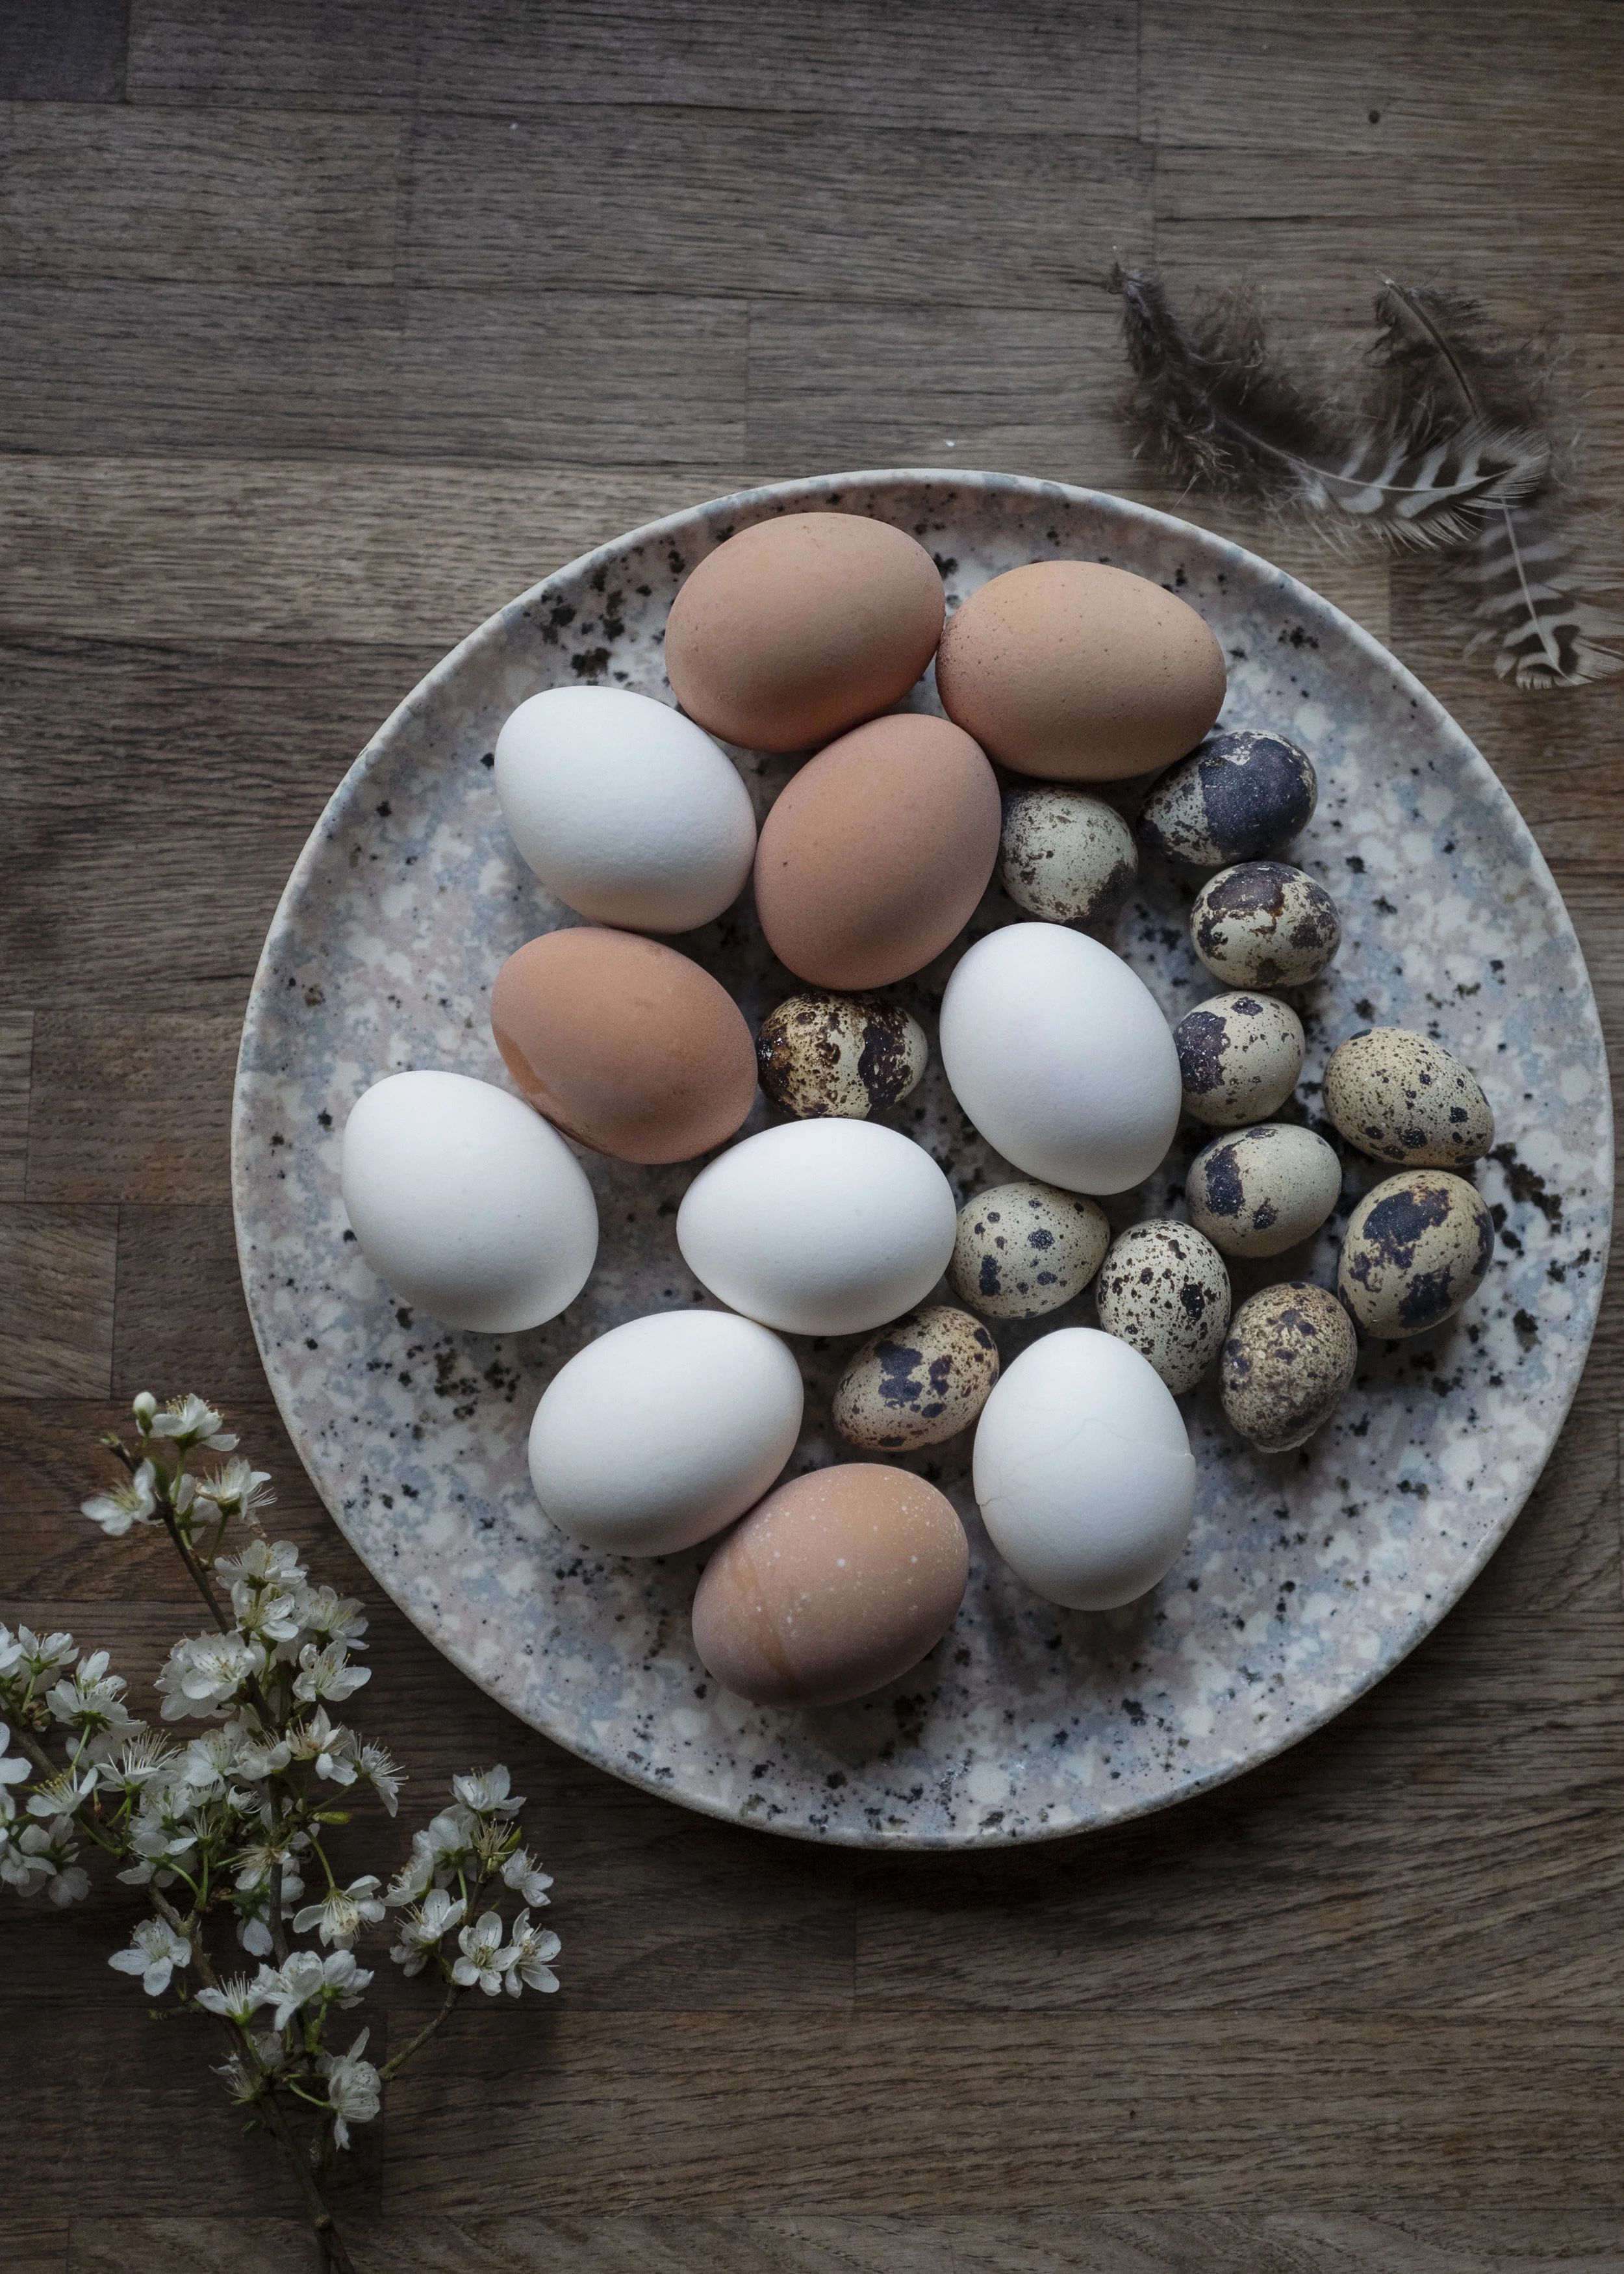
Brown and white eggs
Quails eggs
A pair of sheer tights (I used 10 denier) cut into “tubes” around 15 cm long
A pan you don’t mind being discoloured (just in case, but I used my kitchen pans and they appear to have come out of the process unscathed)
Distilled white vinegar
Rubber bands or string
Pots, jars or tupperware to store the eggs in the fridge in overnight
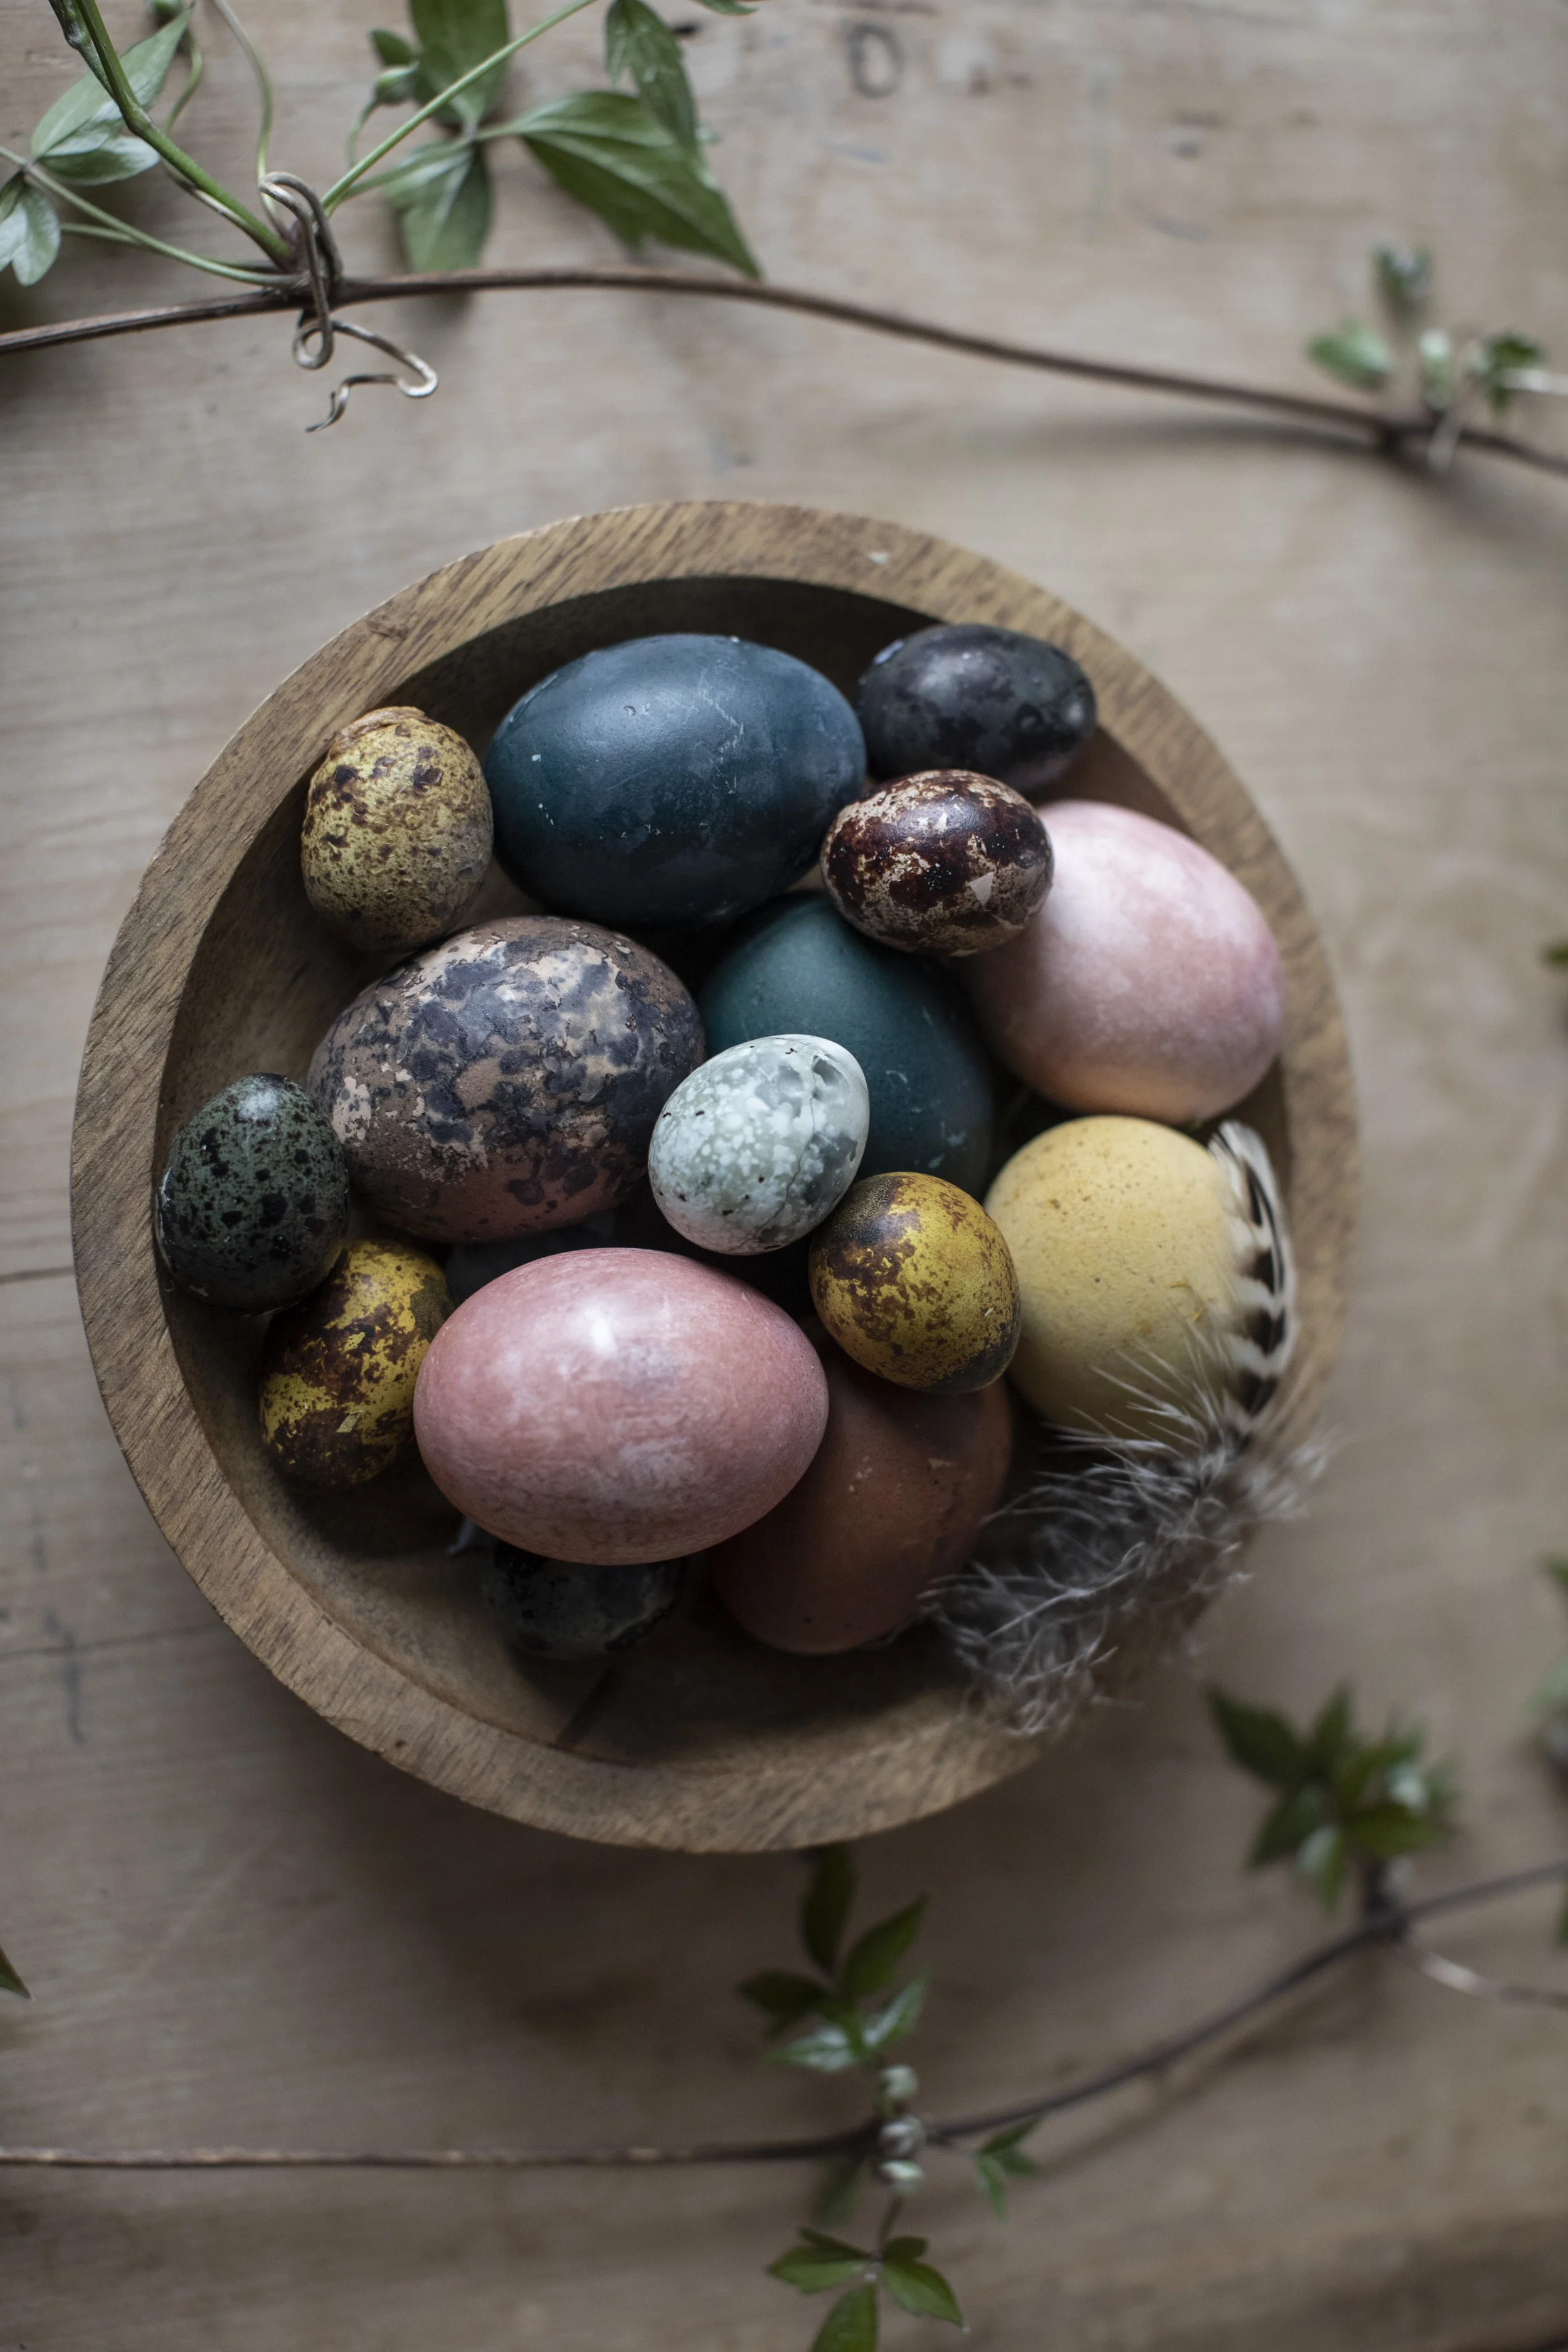
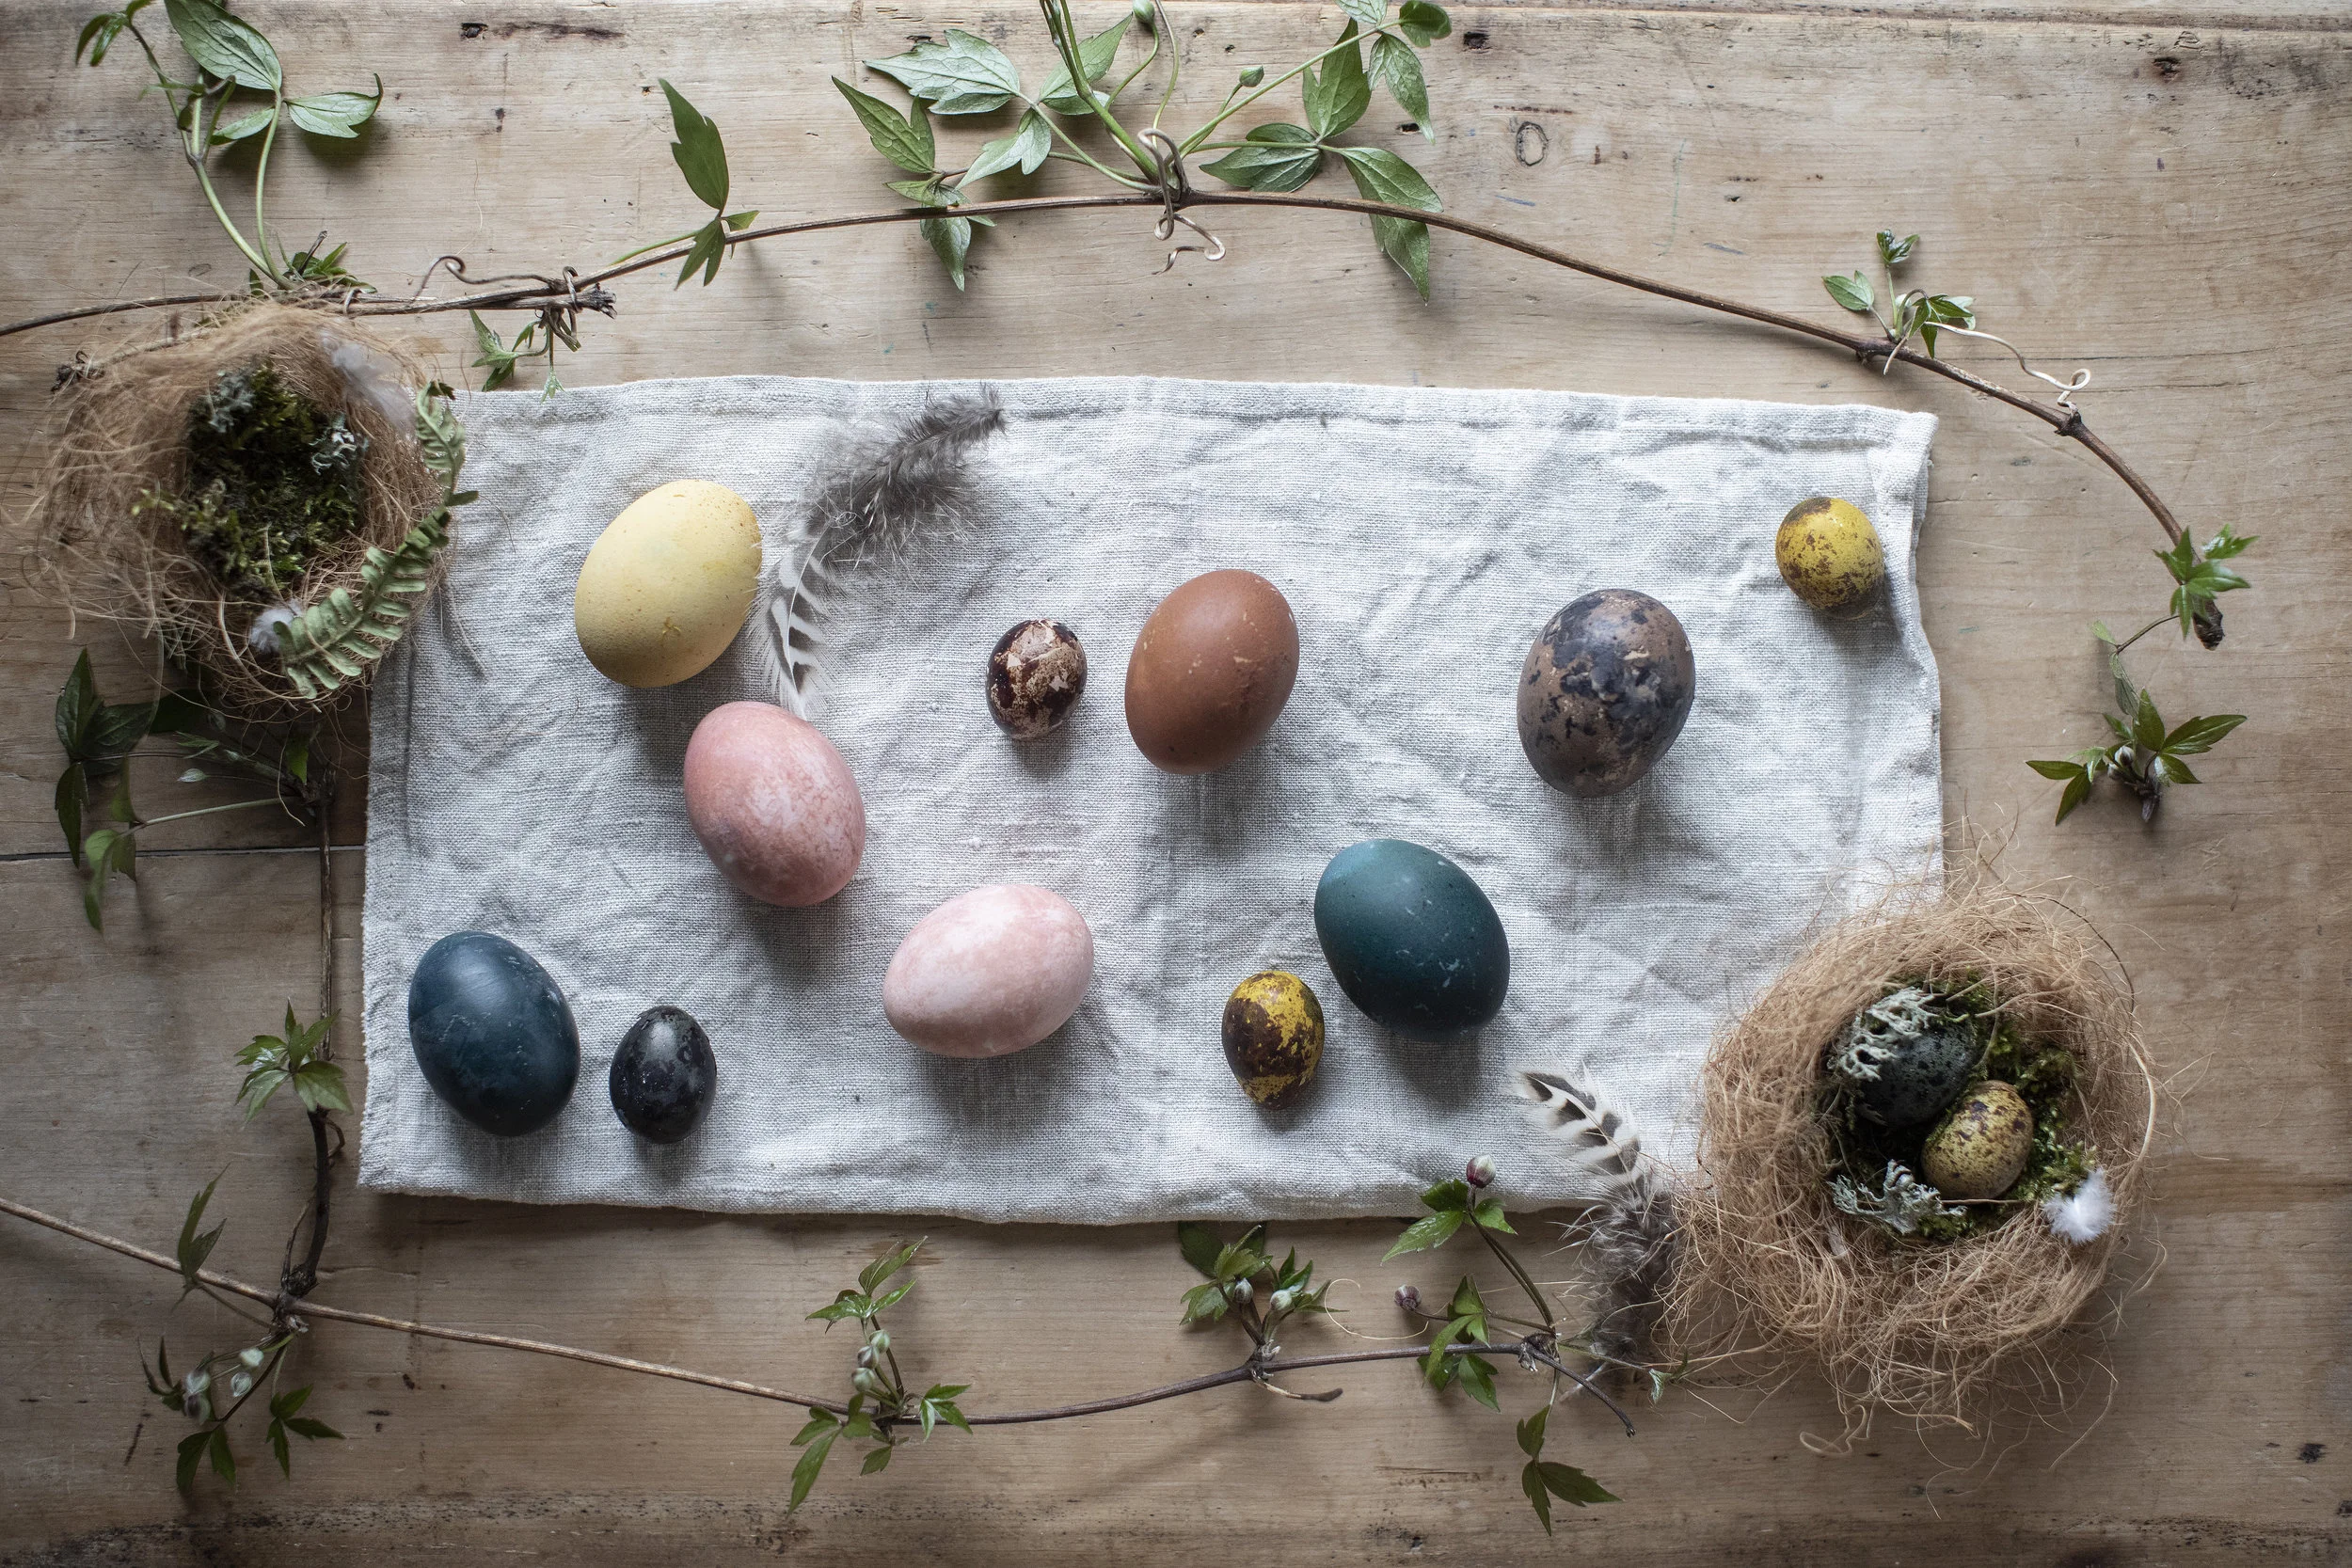
Natural materials for dyeing. We used: red cabbage, blueberries, avocado stones and skins, hibiscus and green tea bags, a combination of nettles and lavender leaves, turmeric and alder catkins.
What to do:
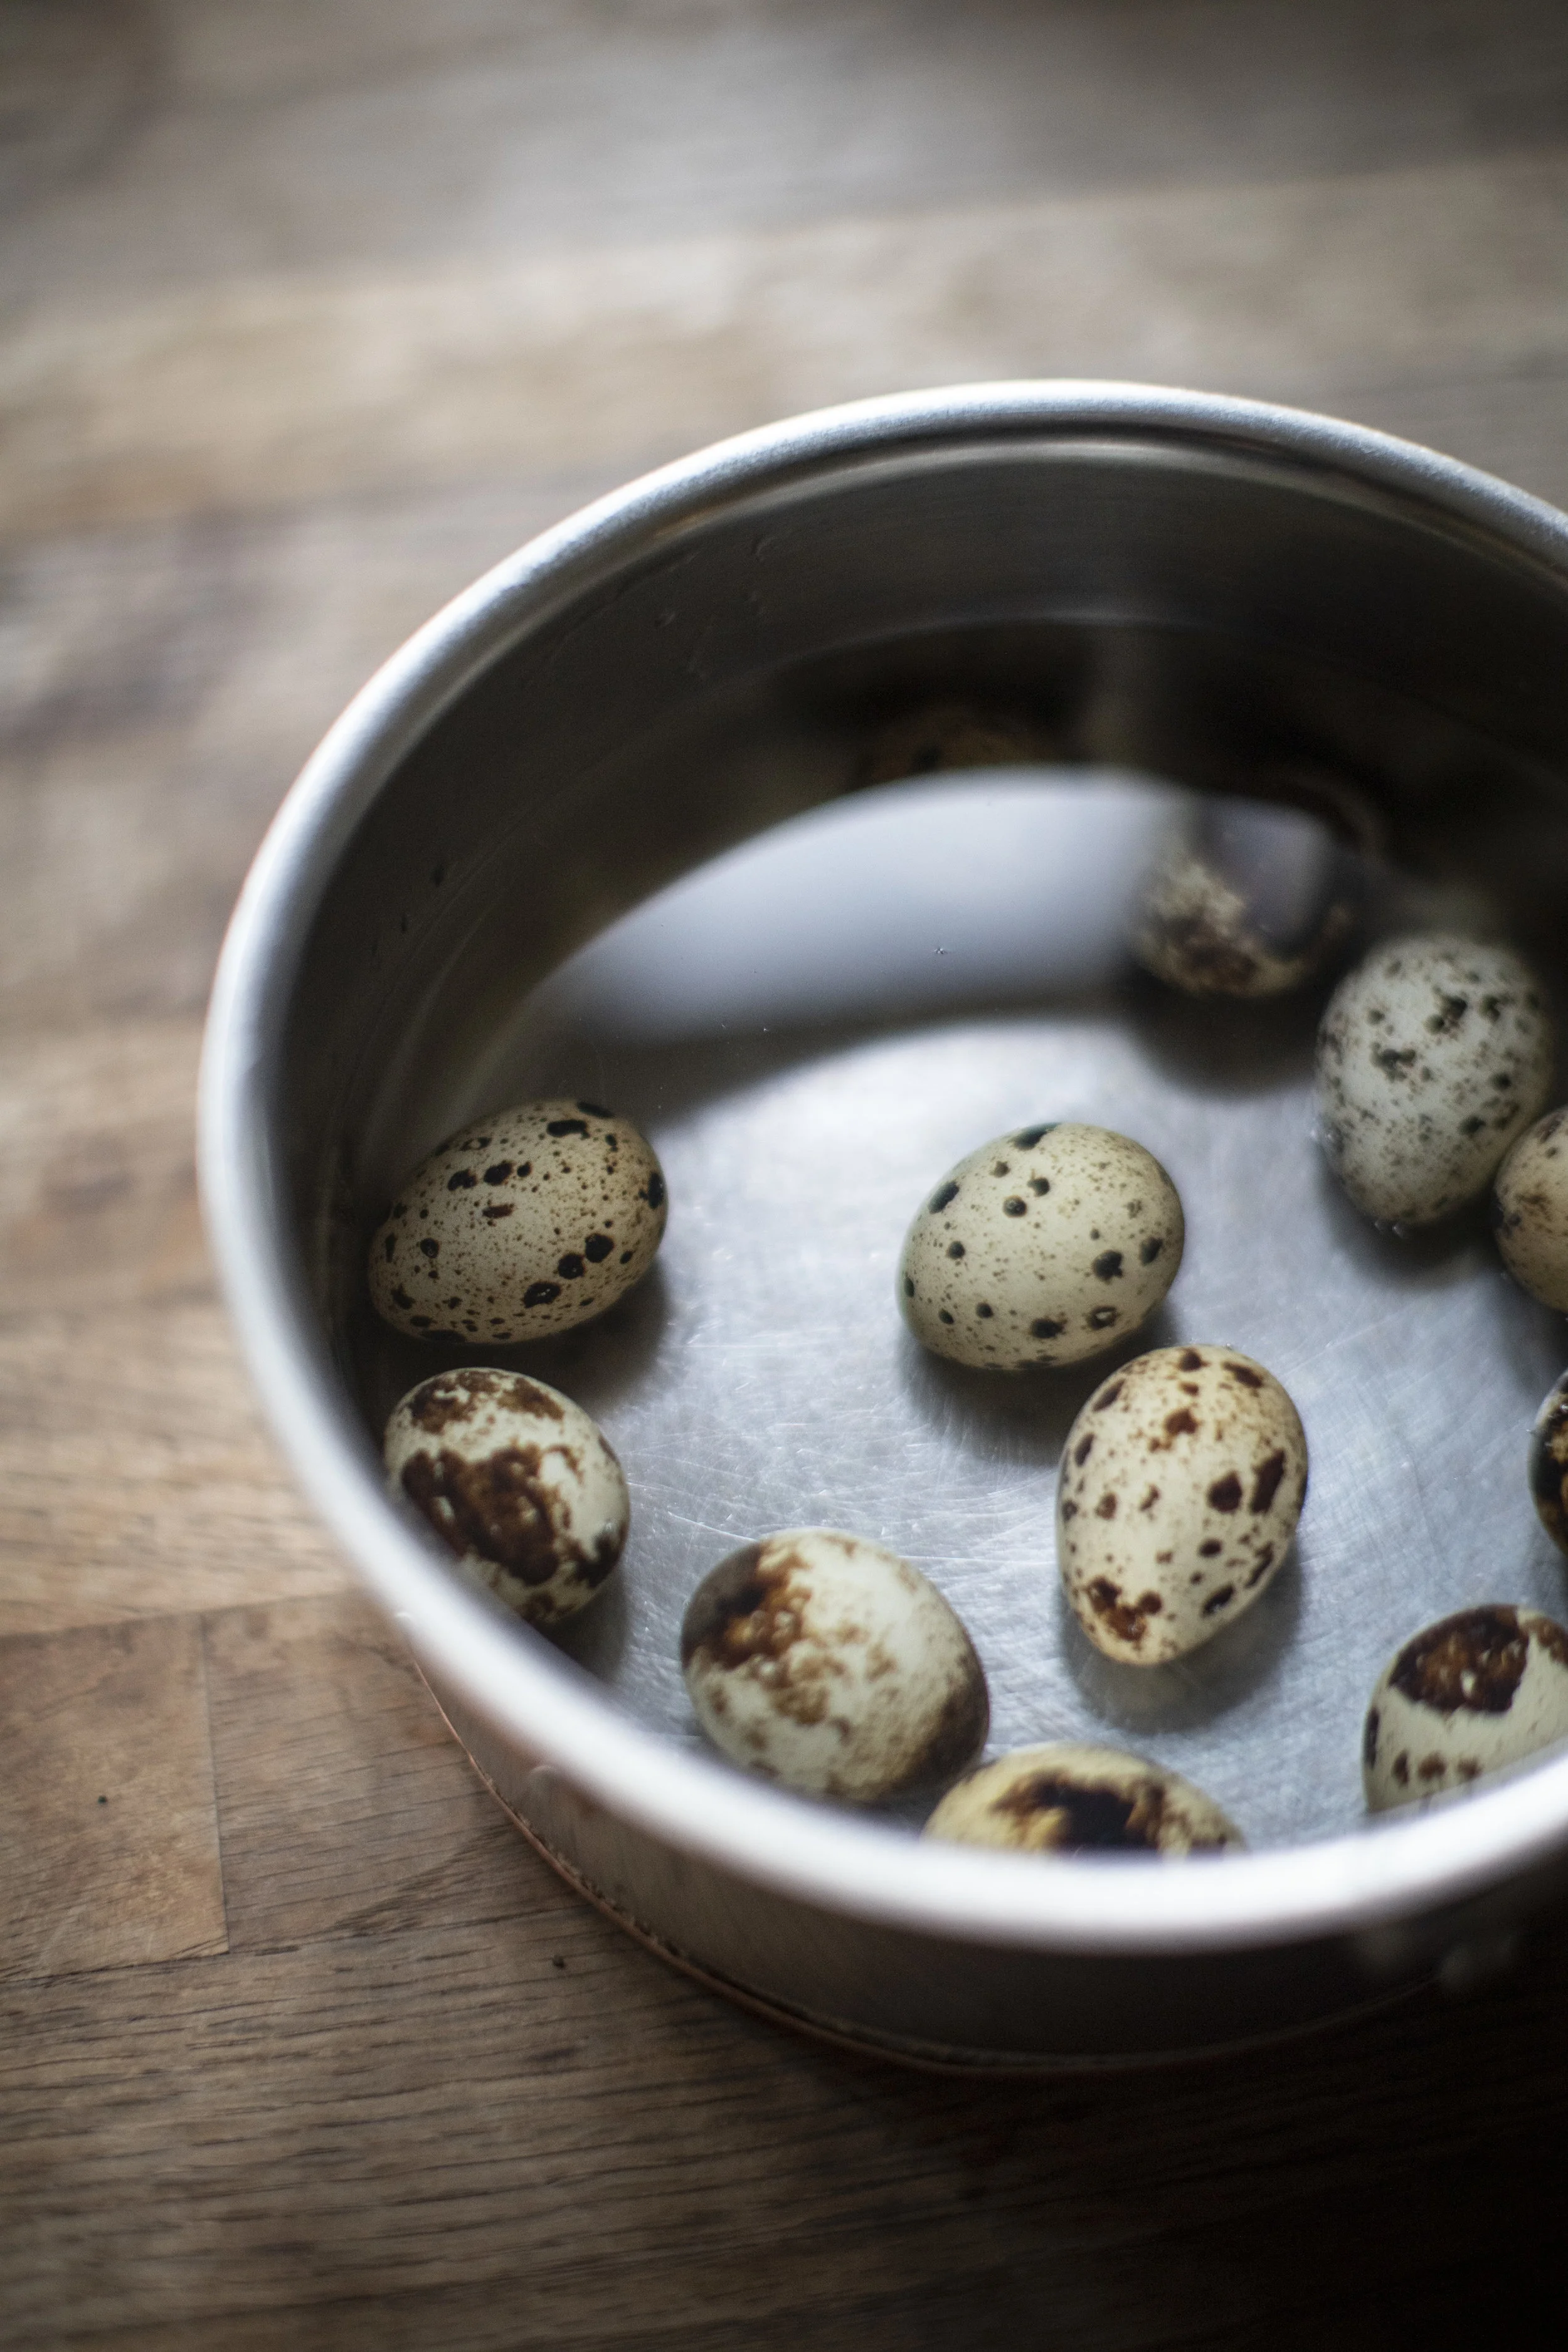
Hard boil the eggs (this should take around 6-8 minutes, the quail’s eggs less) then remove from the water. For the avocado skins and stones and red cabbage, cover with water and simmer for around an hour (I used two stones and the skin of one avocado, but I think I could have used more for a stronger colour, and half a red cabbage). We simmered the nettles and lavender, turmeric, blueberries and alder catkins for approximately half an hour each. I made the teas in a measuring jug and then put in a pan to reduce for fifteen minutes or so in the hope of intensifying the colour. Once you’re happy with the colour you’ve achieved, take out the natural matter, add a splash of distilled white vinegar and stir. Put the coloured liquid into a container that will hold the eggs and fit in the fridge and add the eggs. Leave in the fridge overnight. Try and allow enough space around the eggs so they don't press up against each other or the edge of the container so you don’t end up with lighter patches.
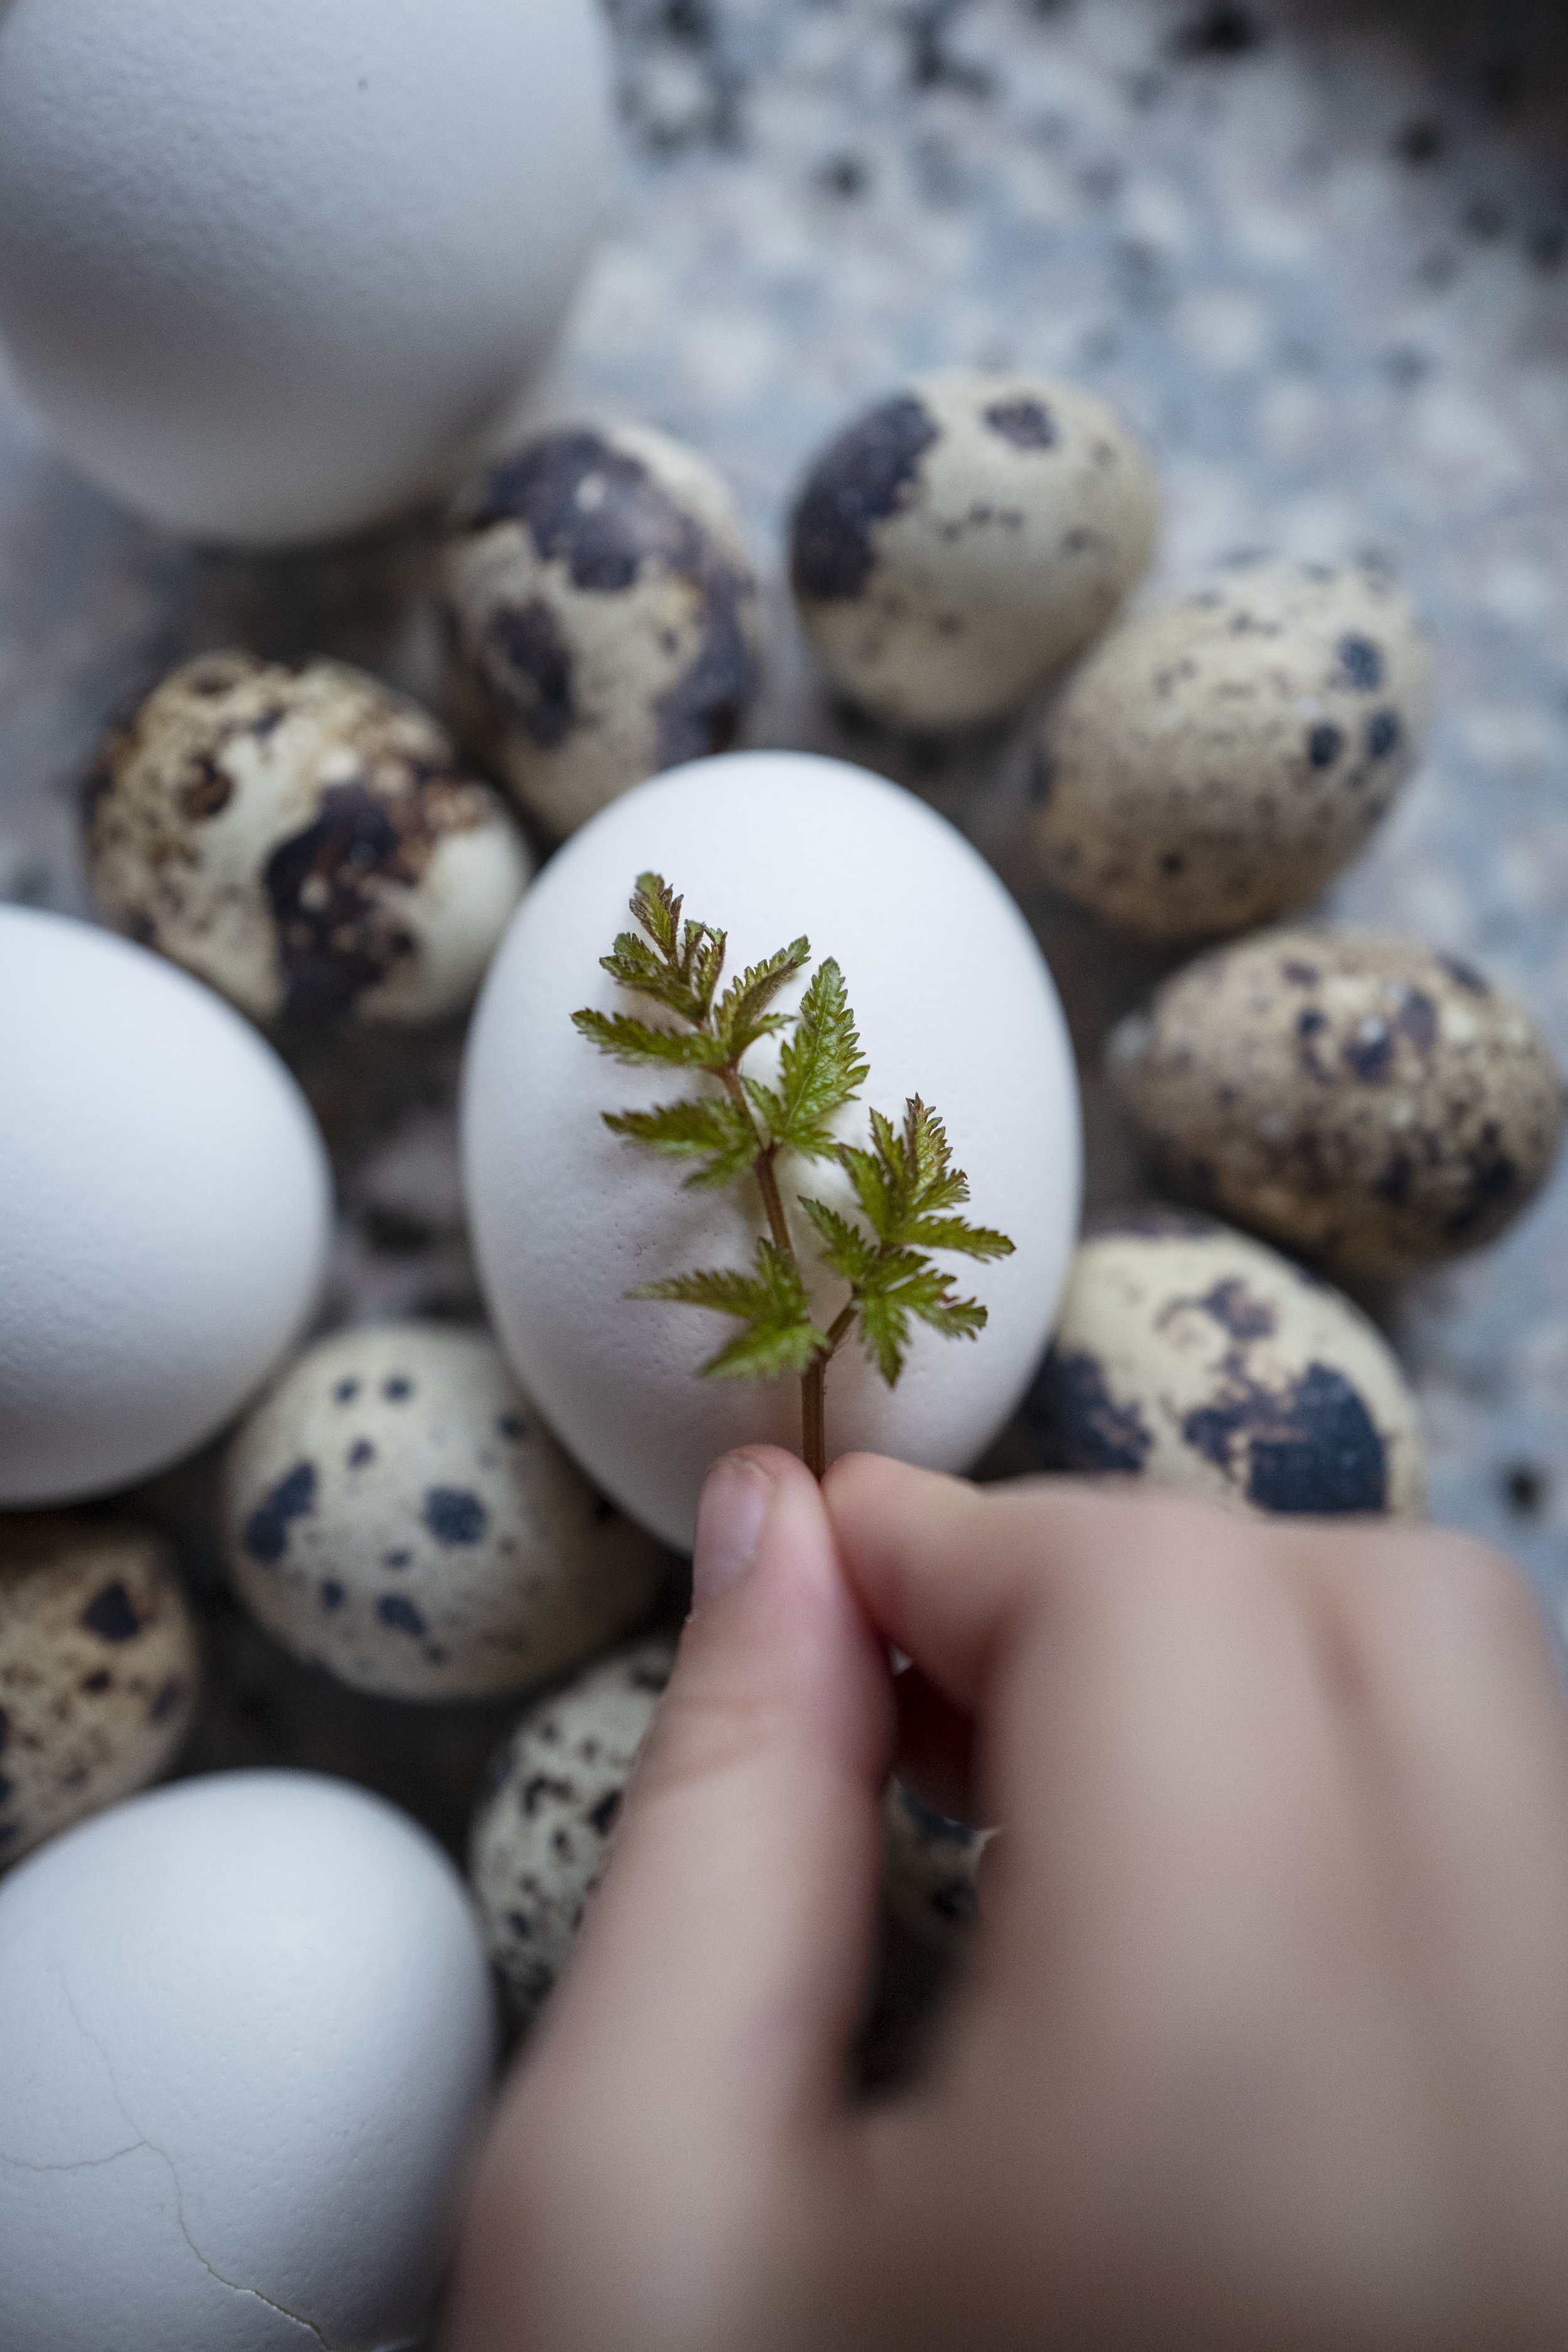
For the leaf “print” eggs, choose a leaf that has a strong, defined outline (remove some leaves if necessary) and place it on one of the white eggs. Hold it in place while you pull a pre-cut, tubular piece of the tights over the egg. This is quite fiddly. I found it best to get the leaf shape as close to how you want it as possible, pull the tights tight and then re-arrange it through the mesh with your fingernail. Secure the tights at the back of the egg with string or an elastic band. Place in the dyed liquid as with the plain eggs.
The following day, scoop out your eggs with a spoon and allow them to dry a little before removing the tights and carefully peeling off the leaf. If you leave the eggs out in the open air (as I have) some will continue to change colour over time.
READ 7 Tips for Creating Ikebana Inspired Flower Arrangements
